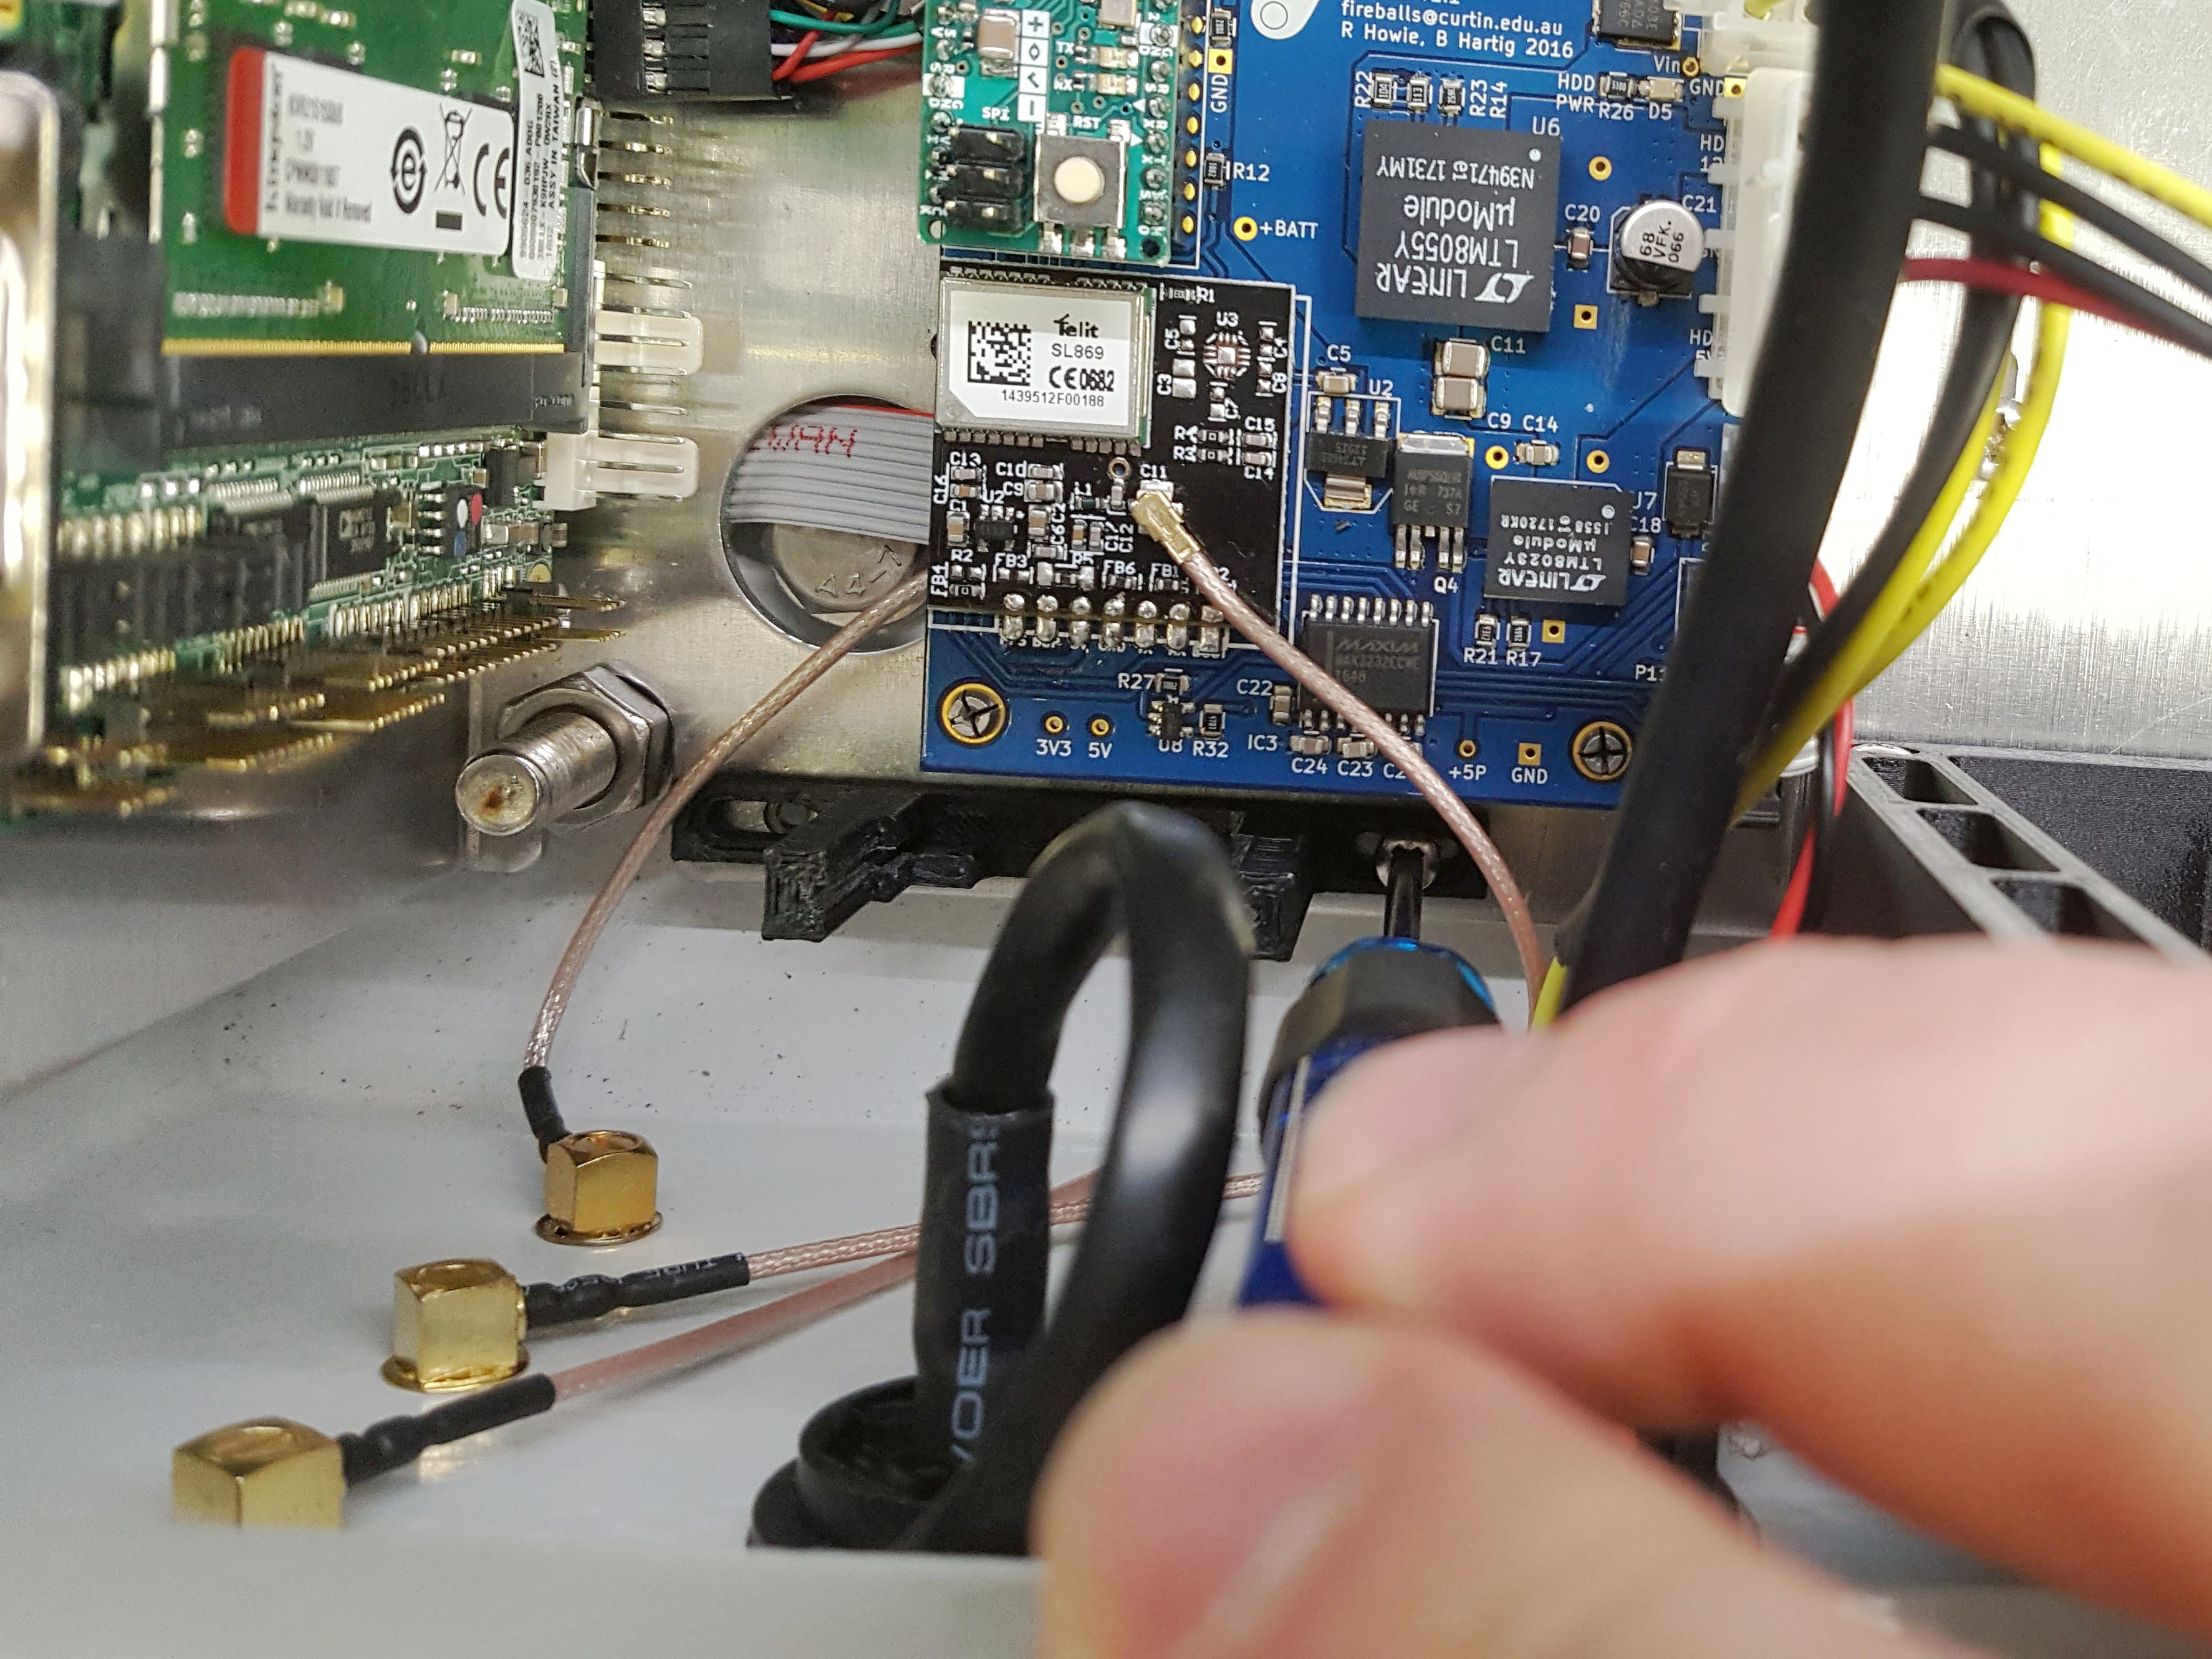
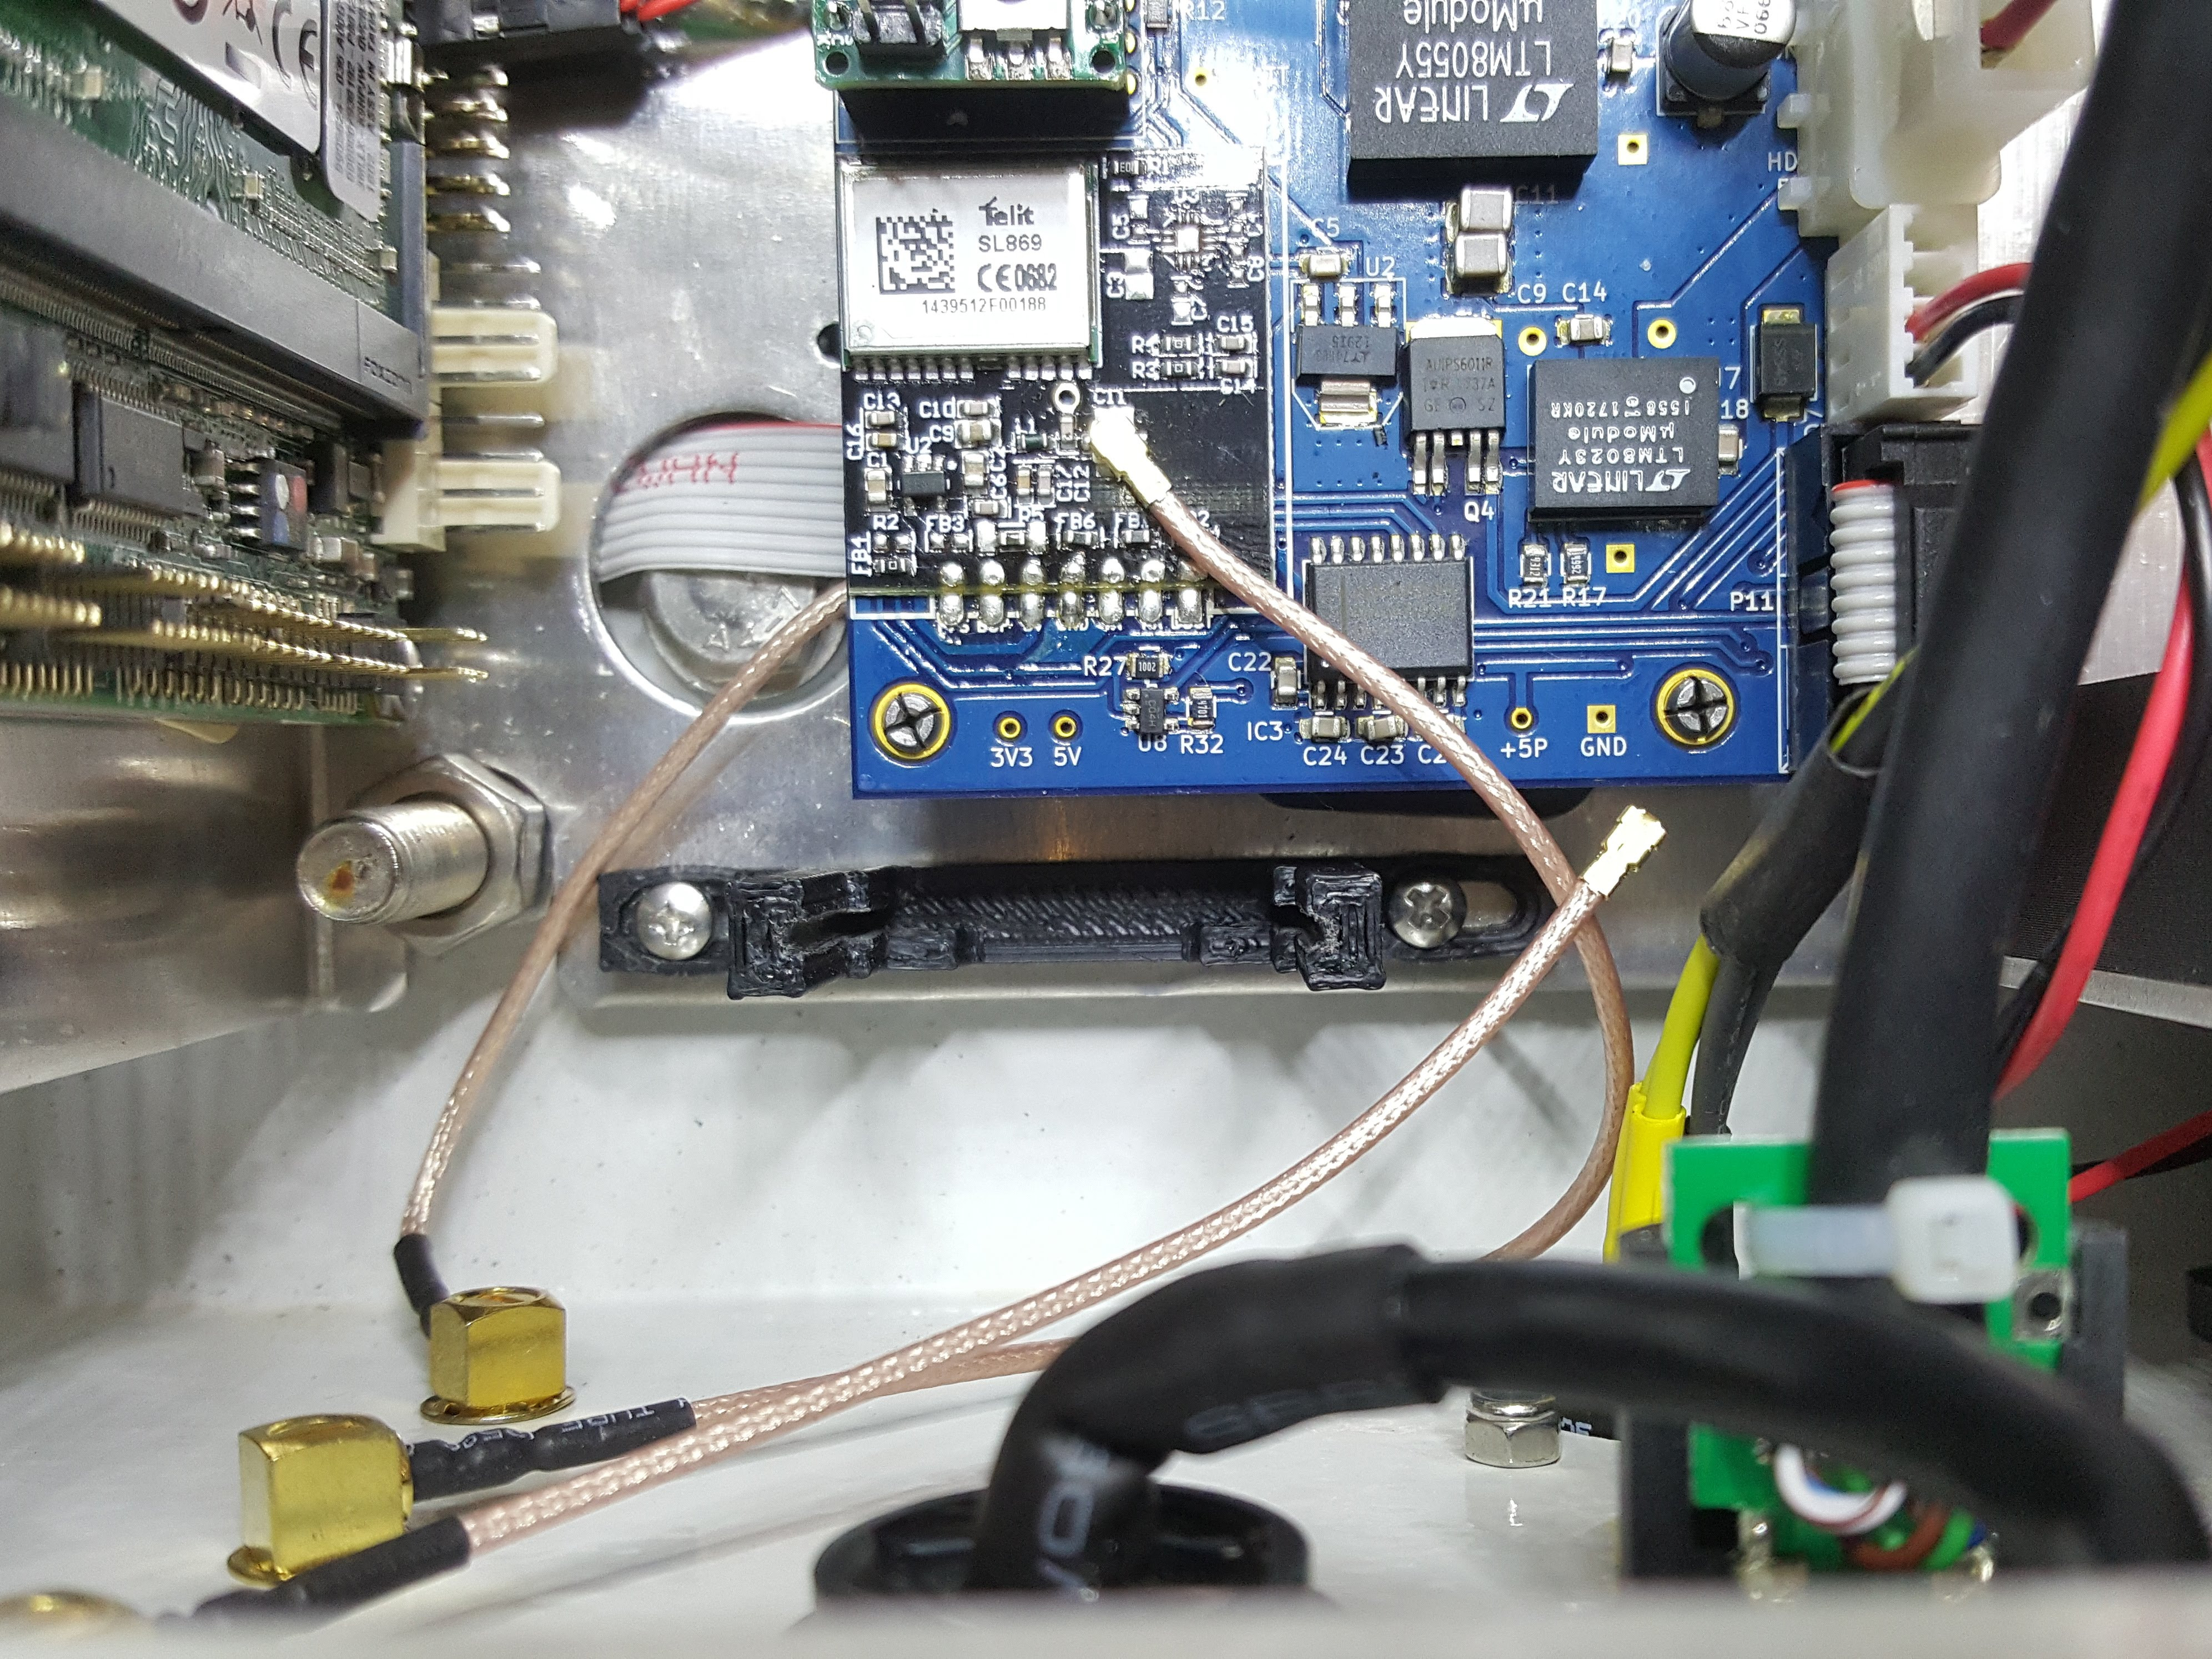
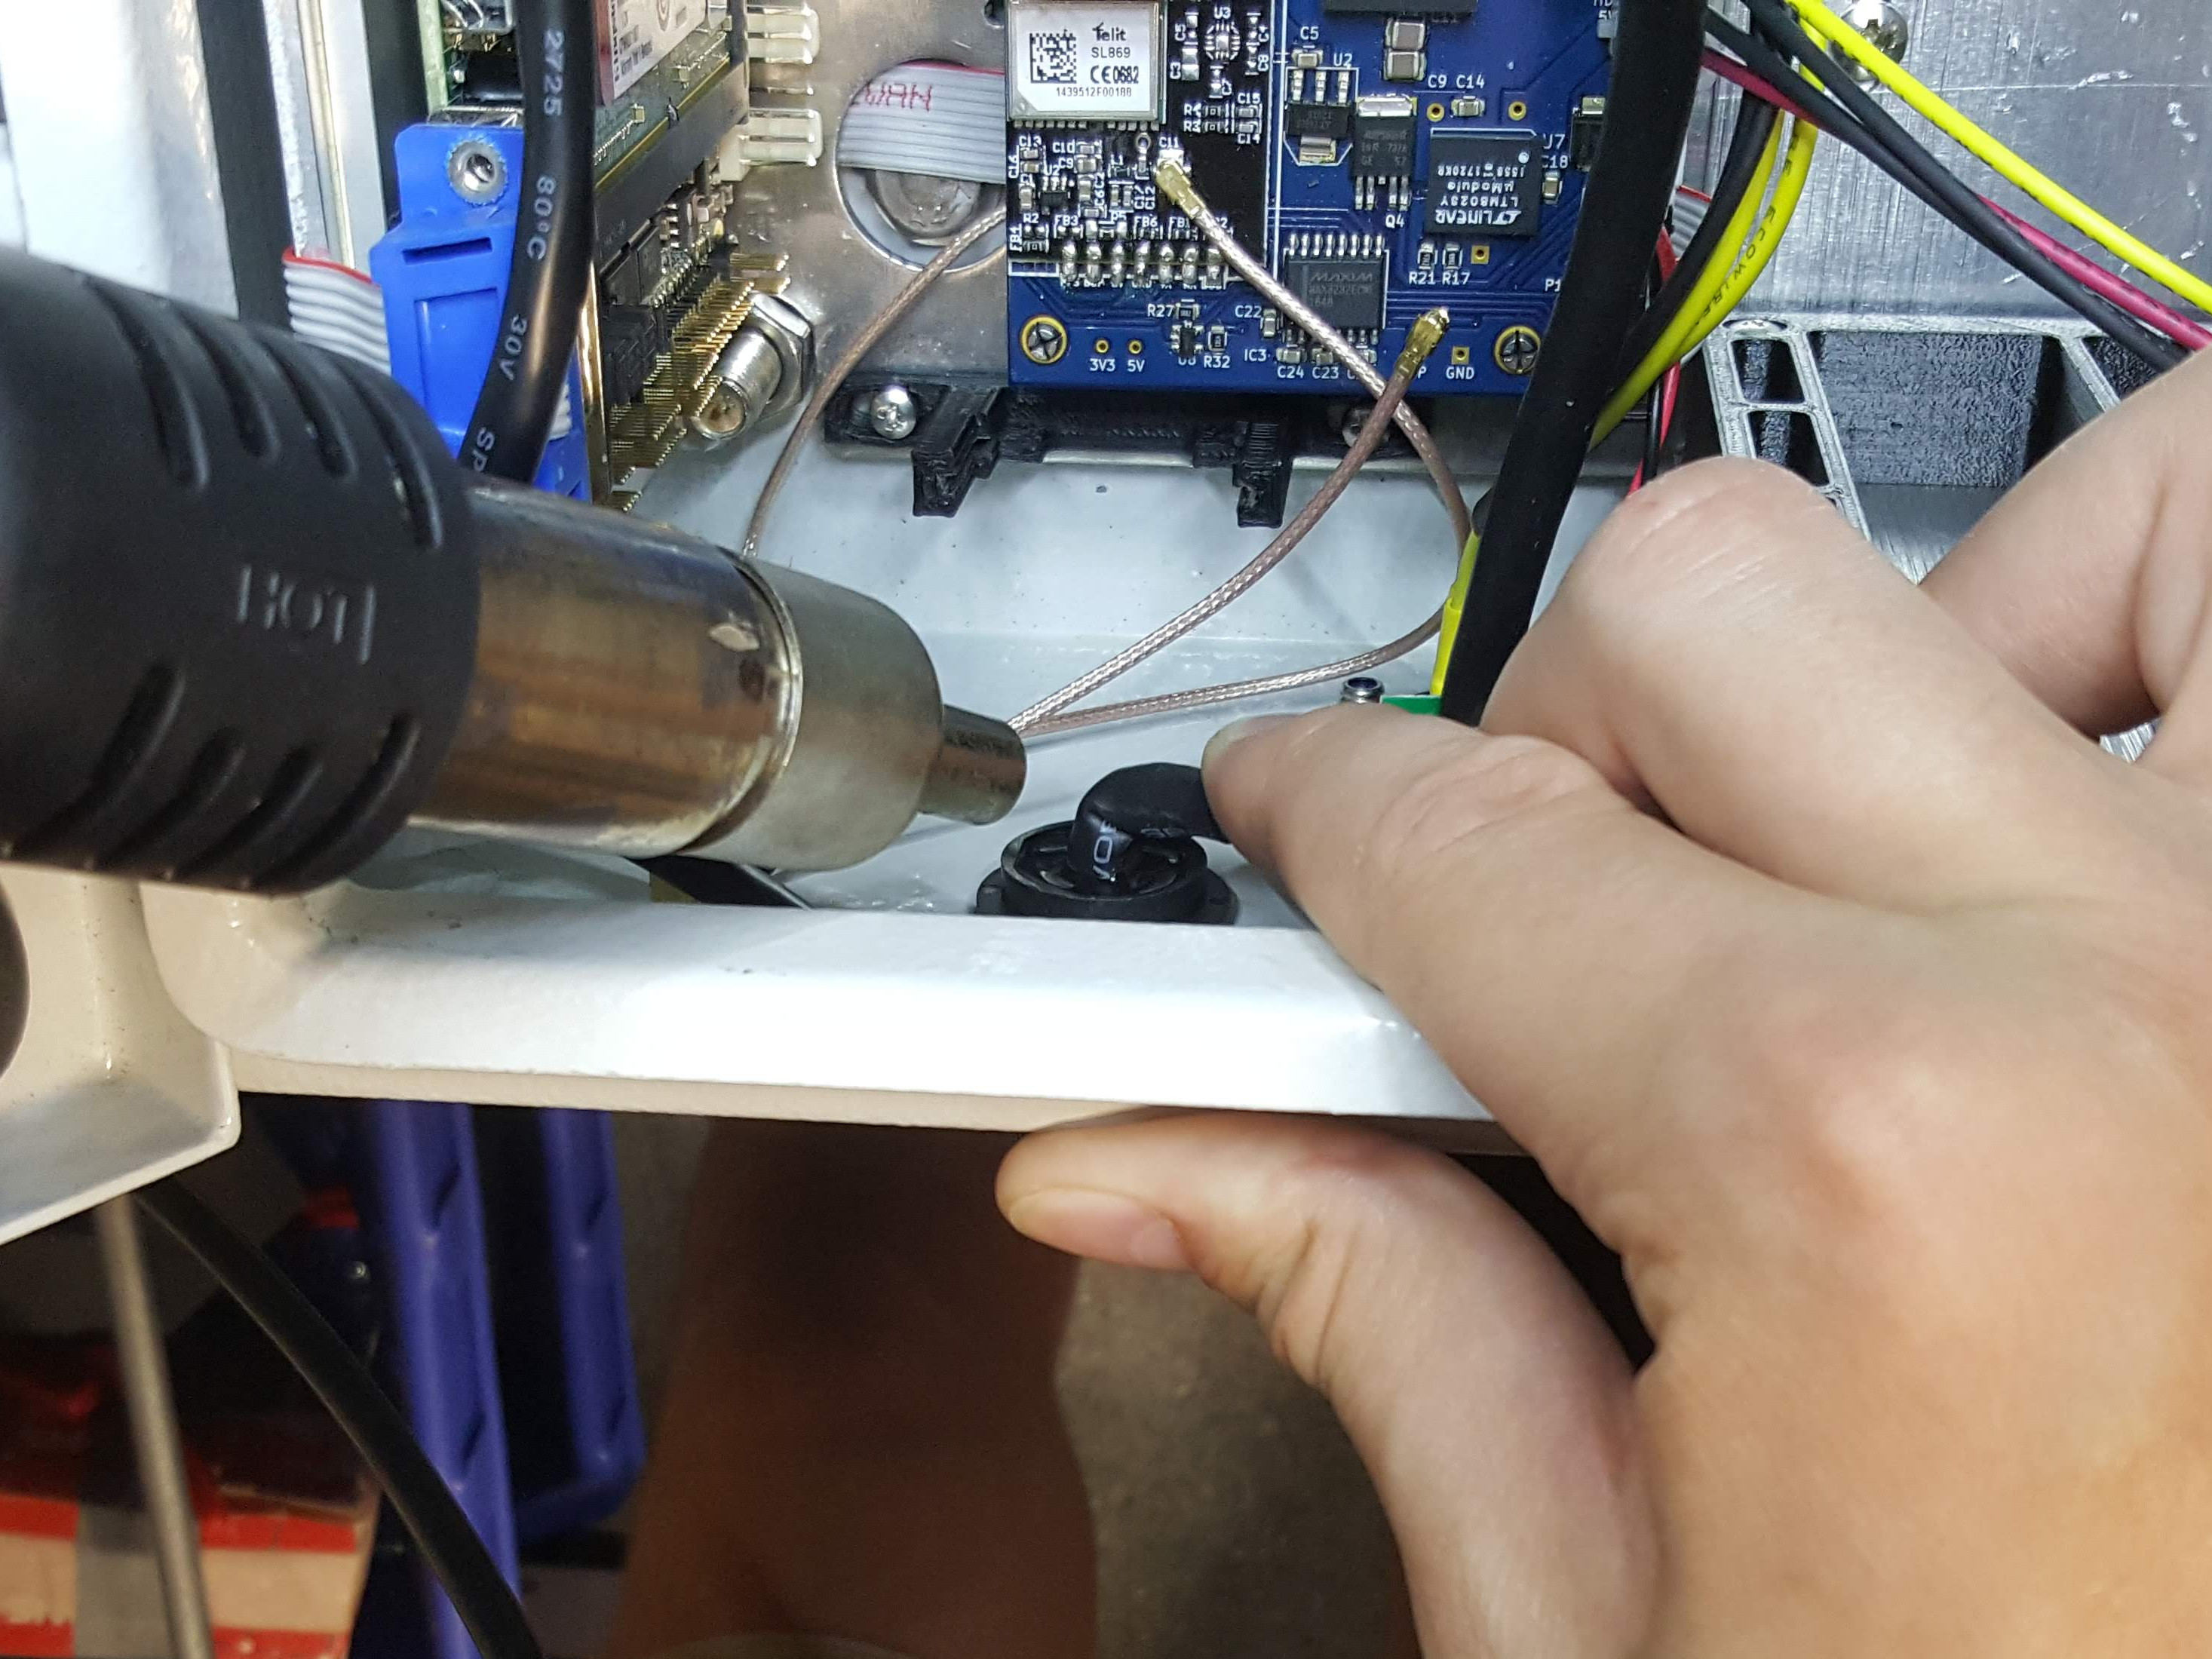
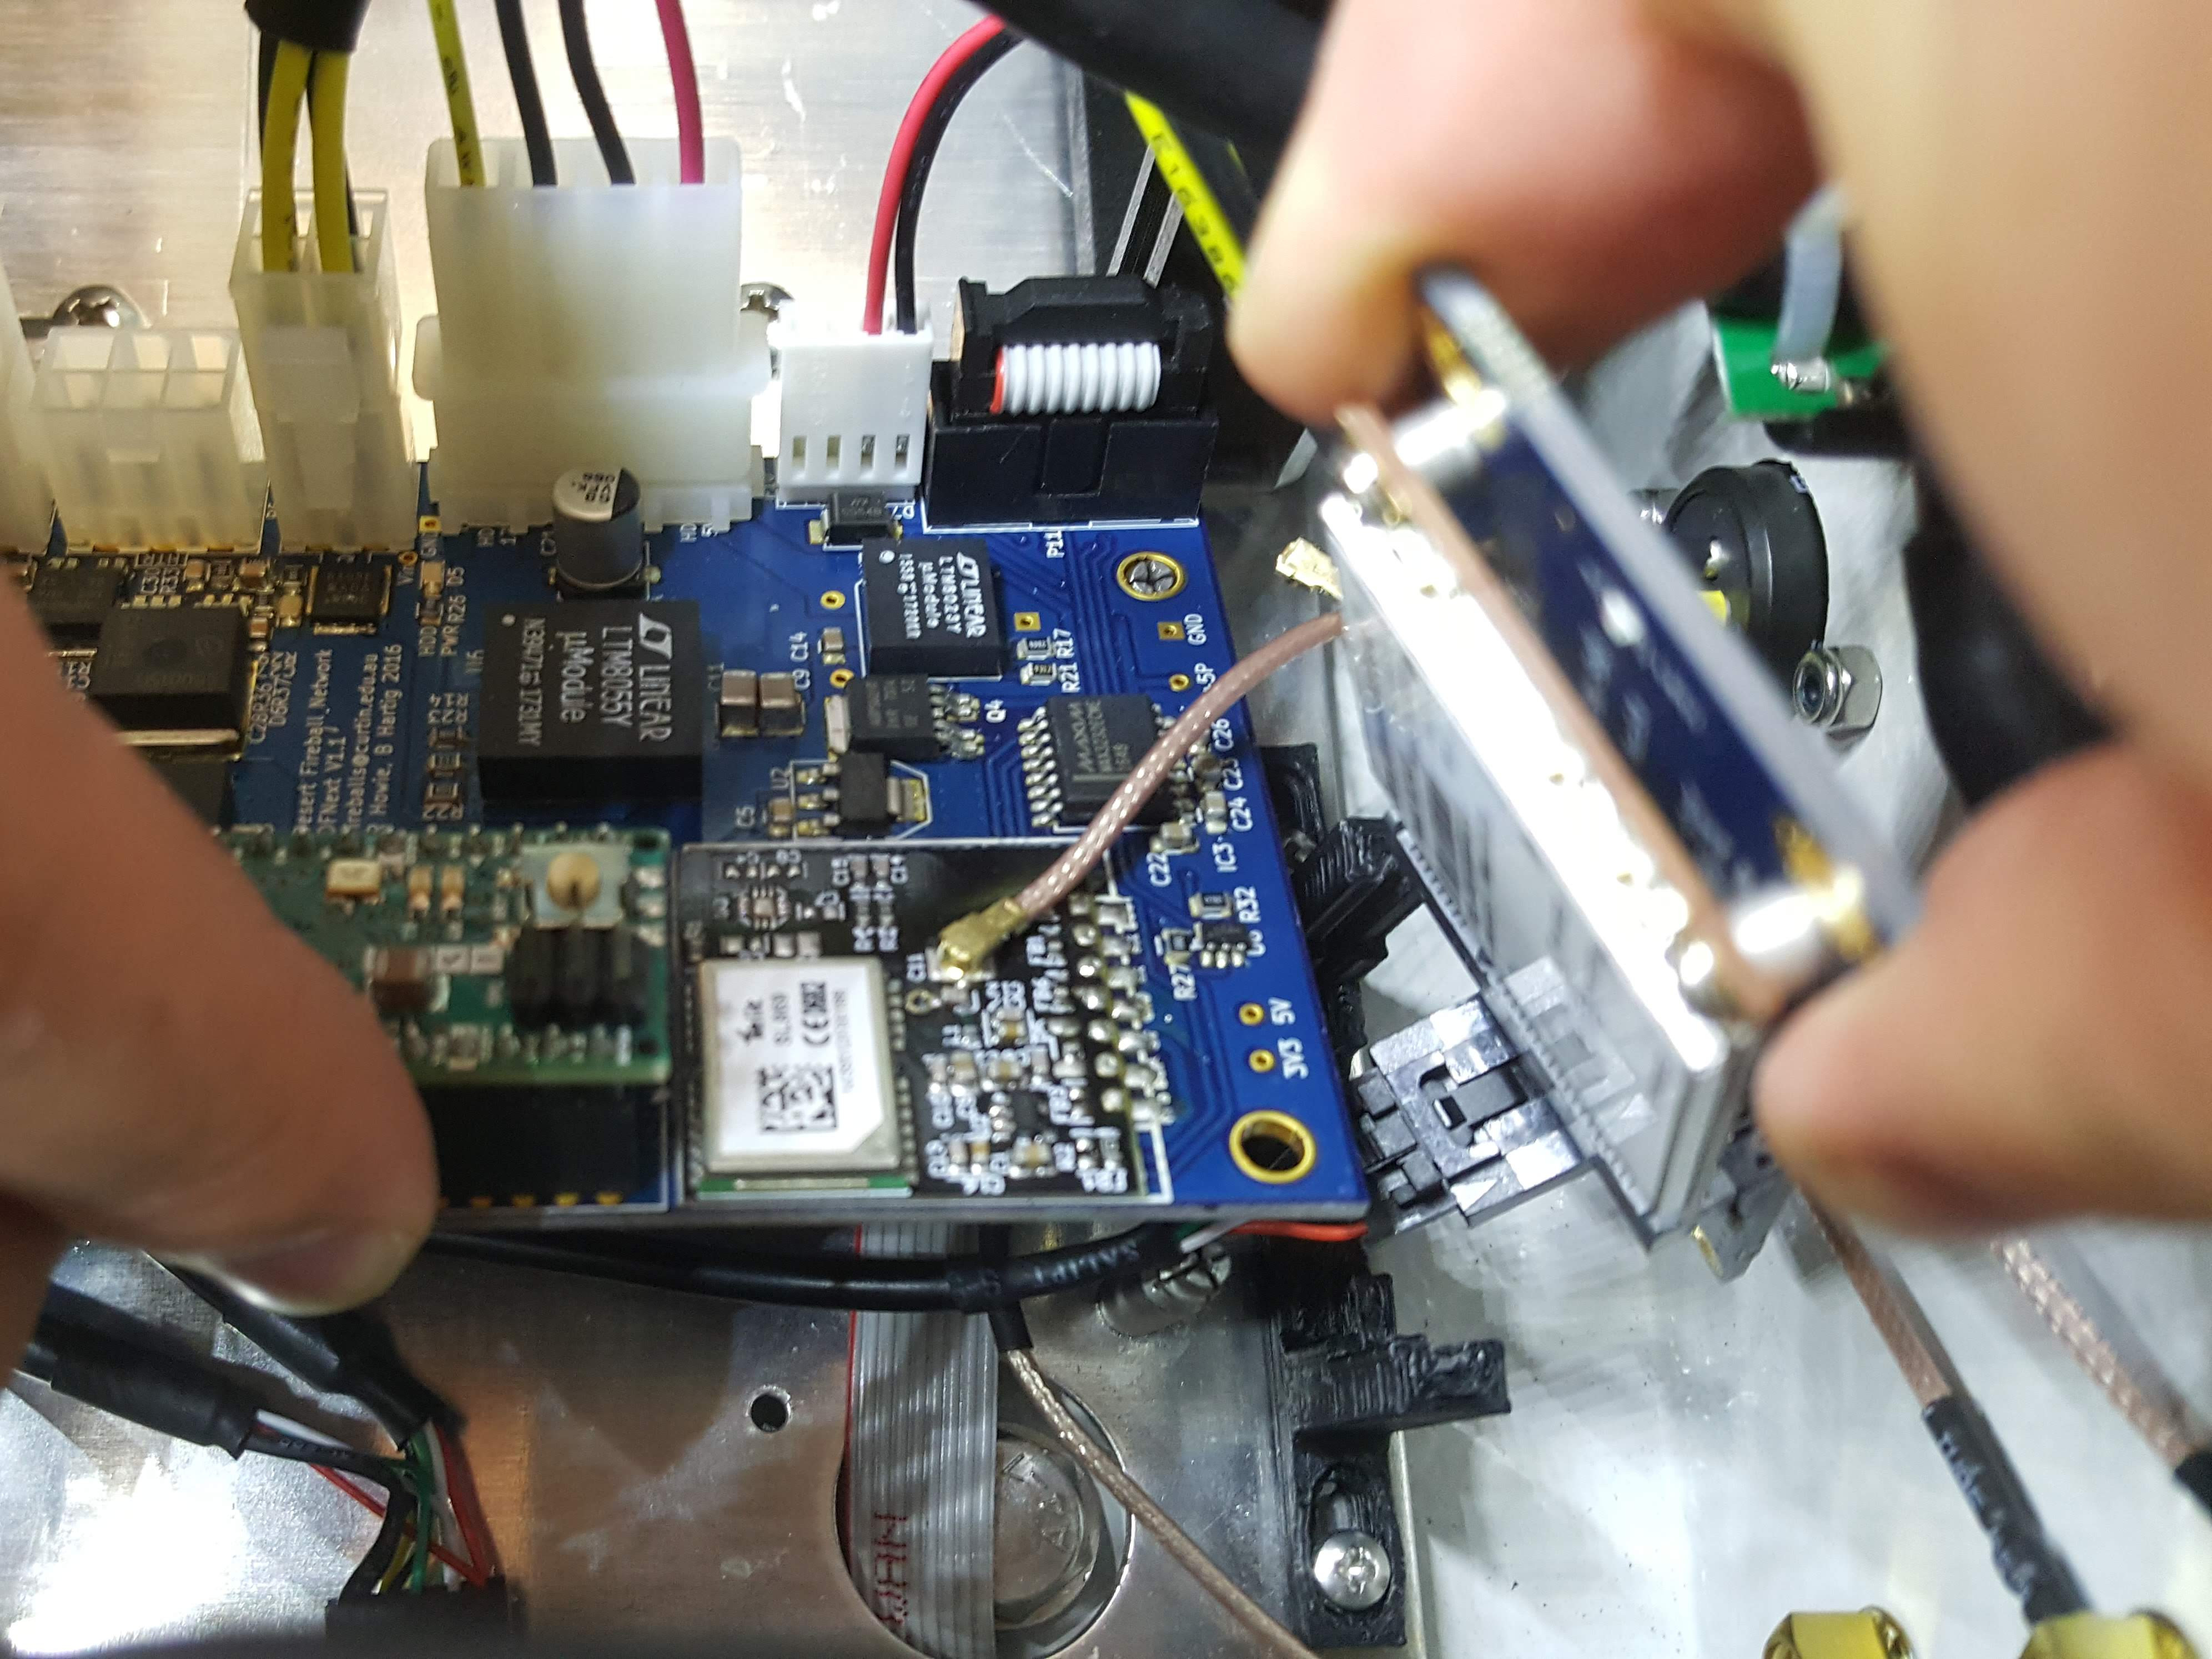
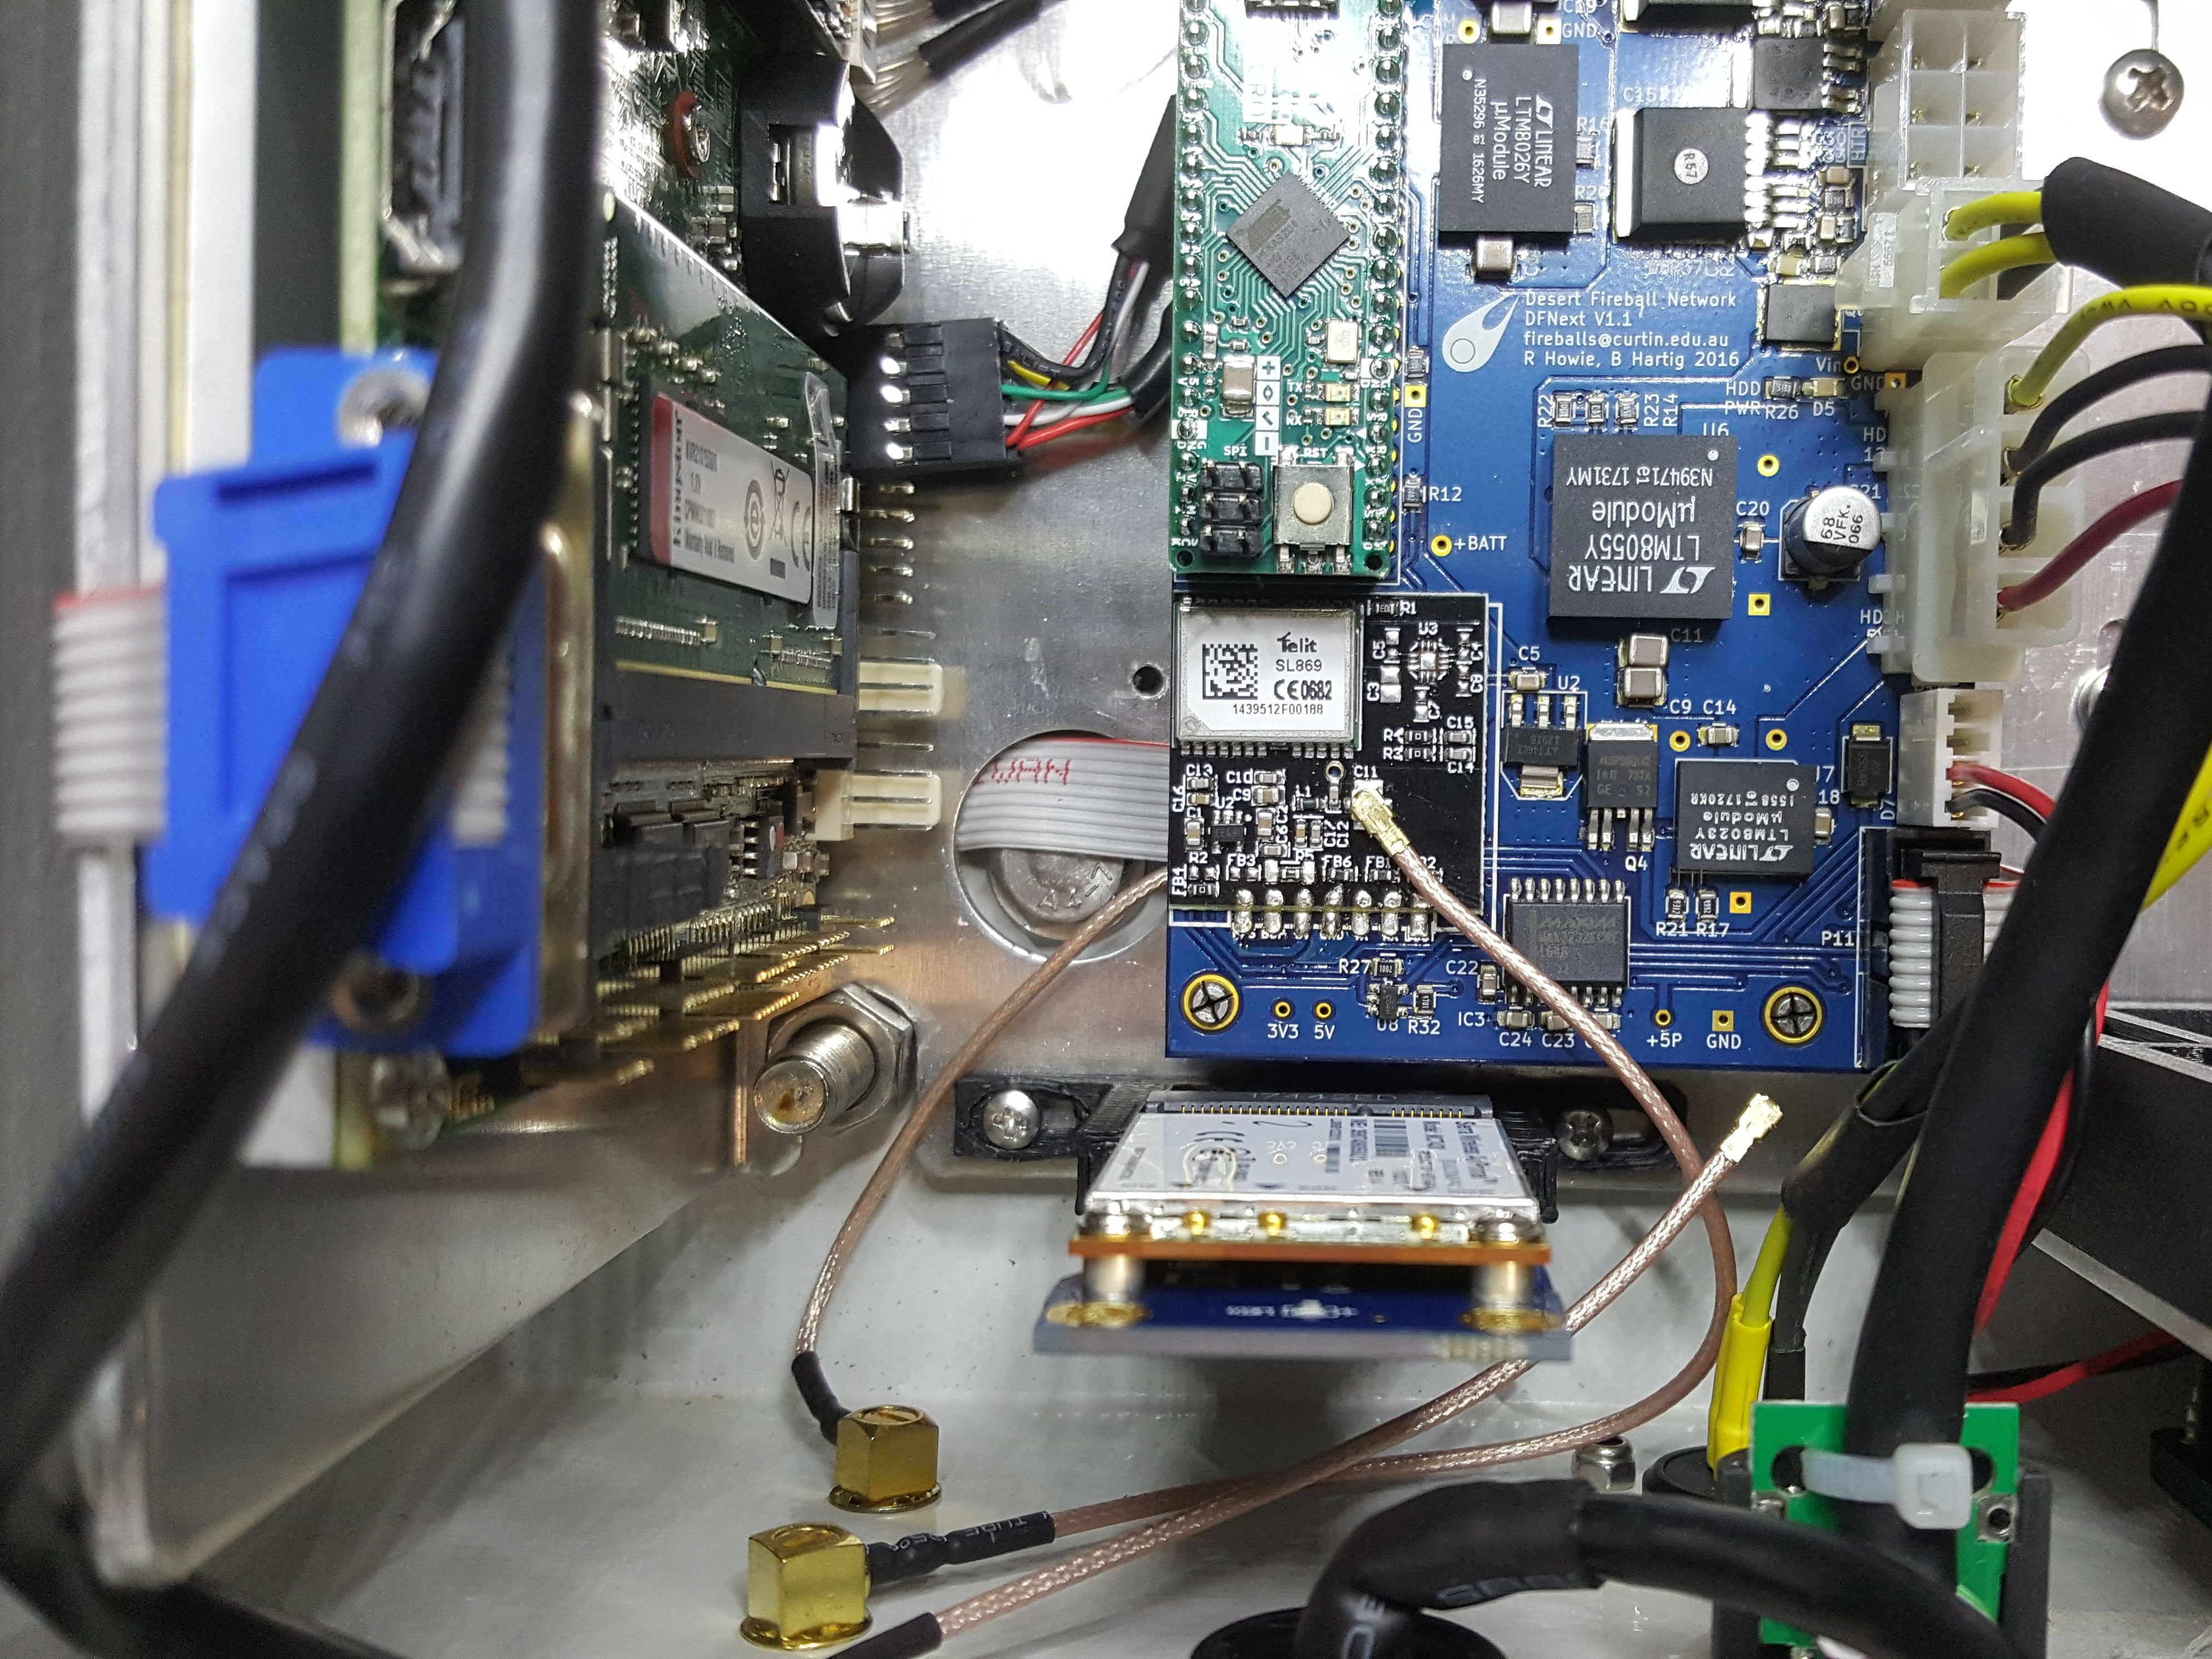
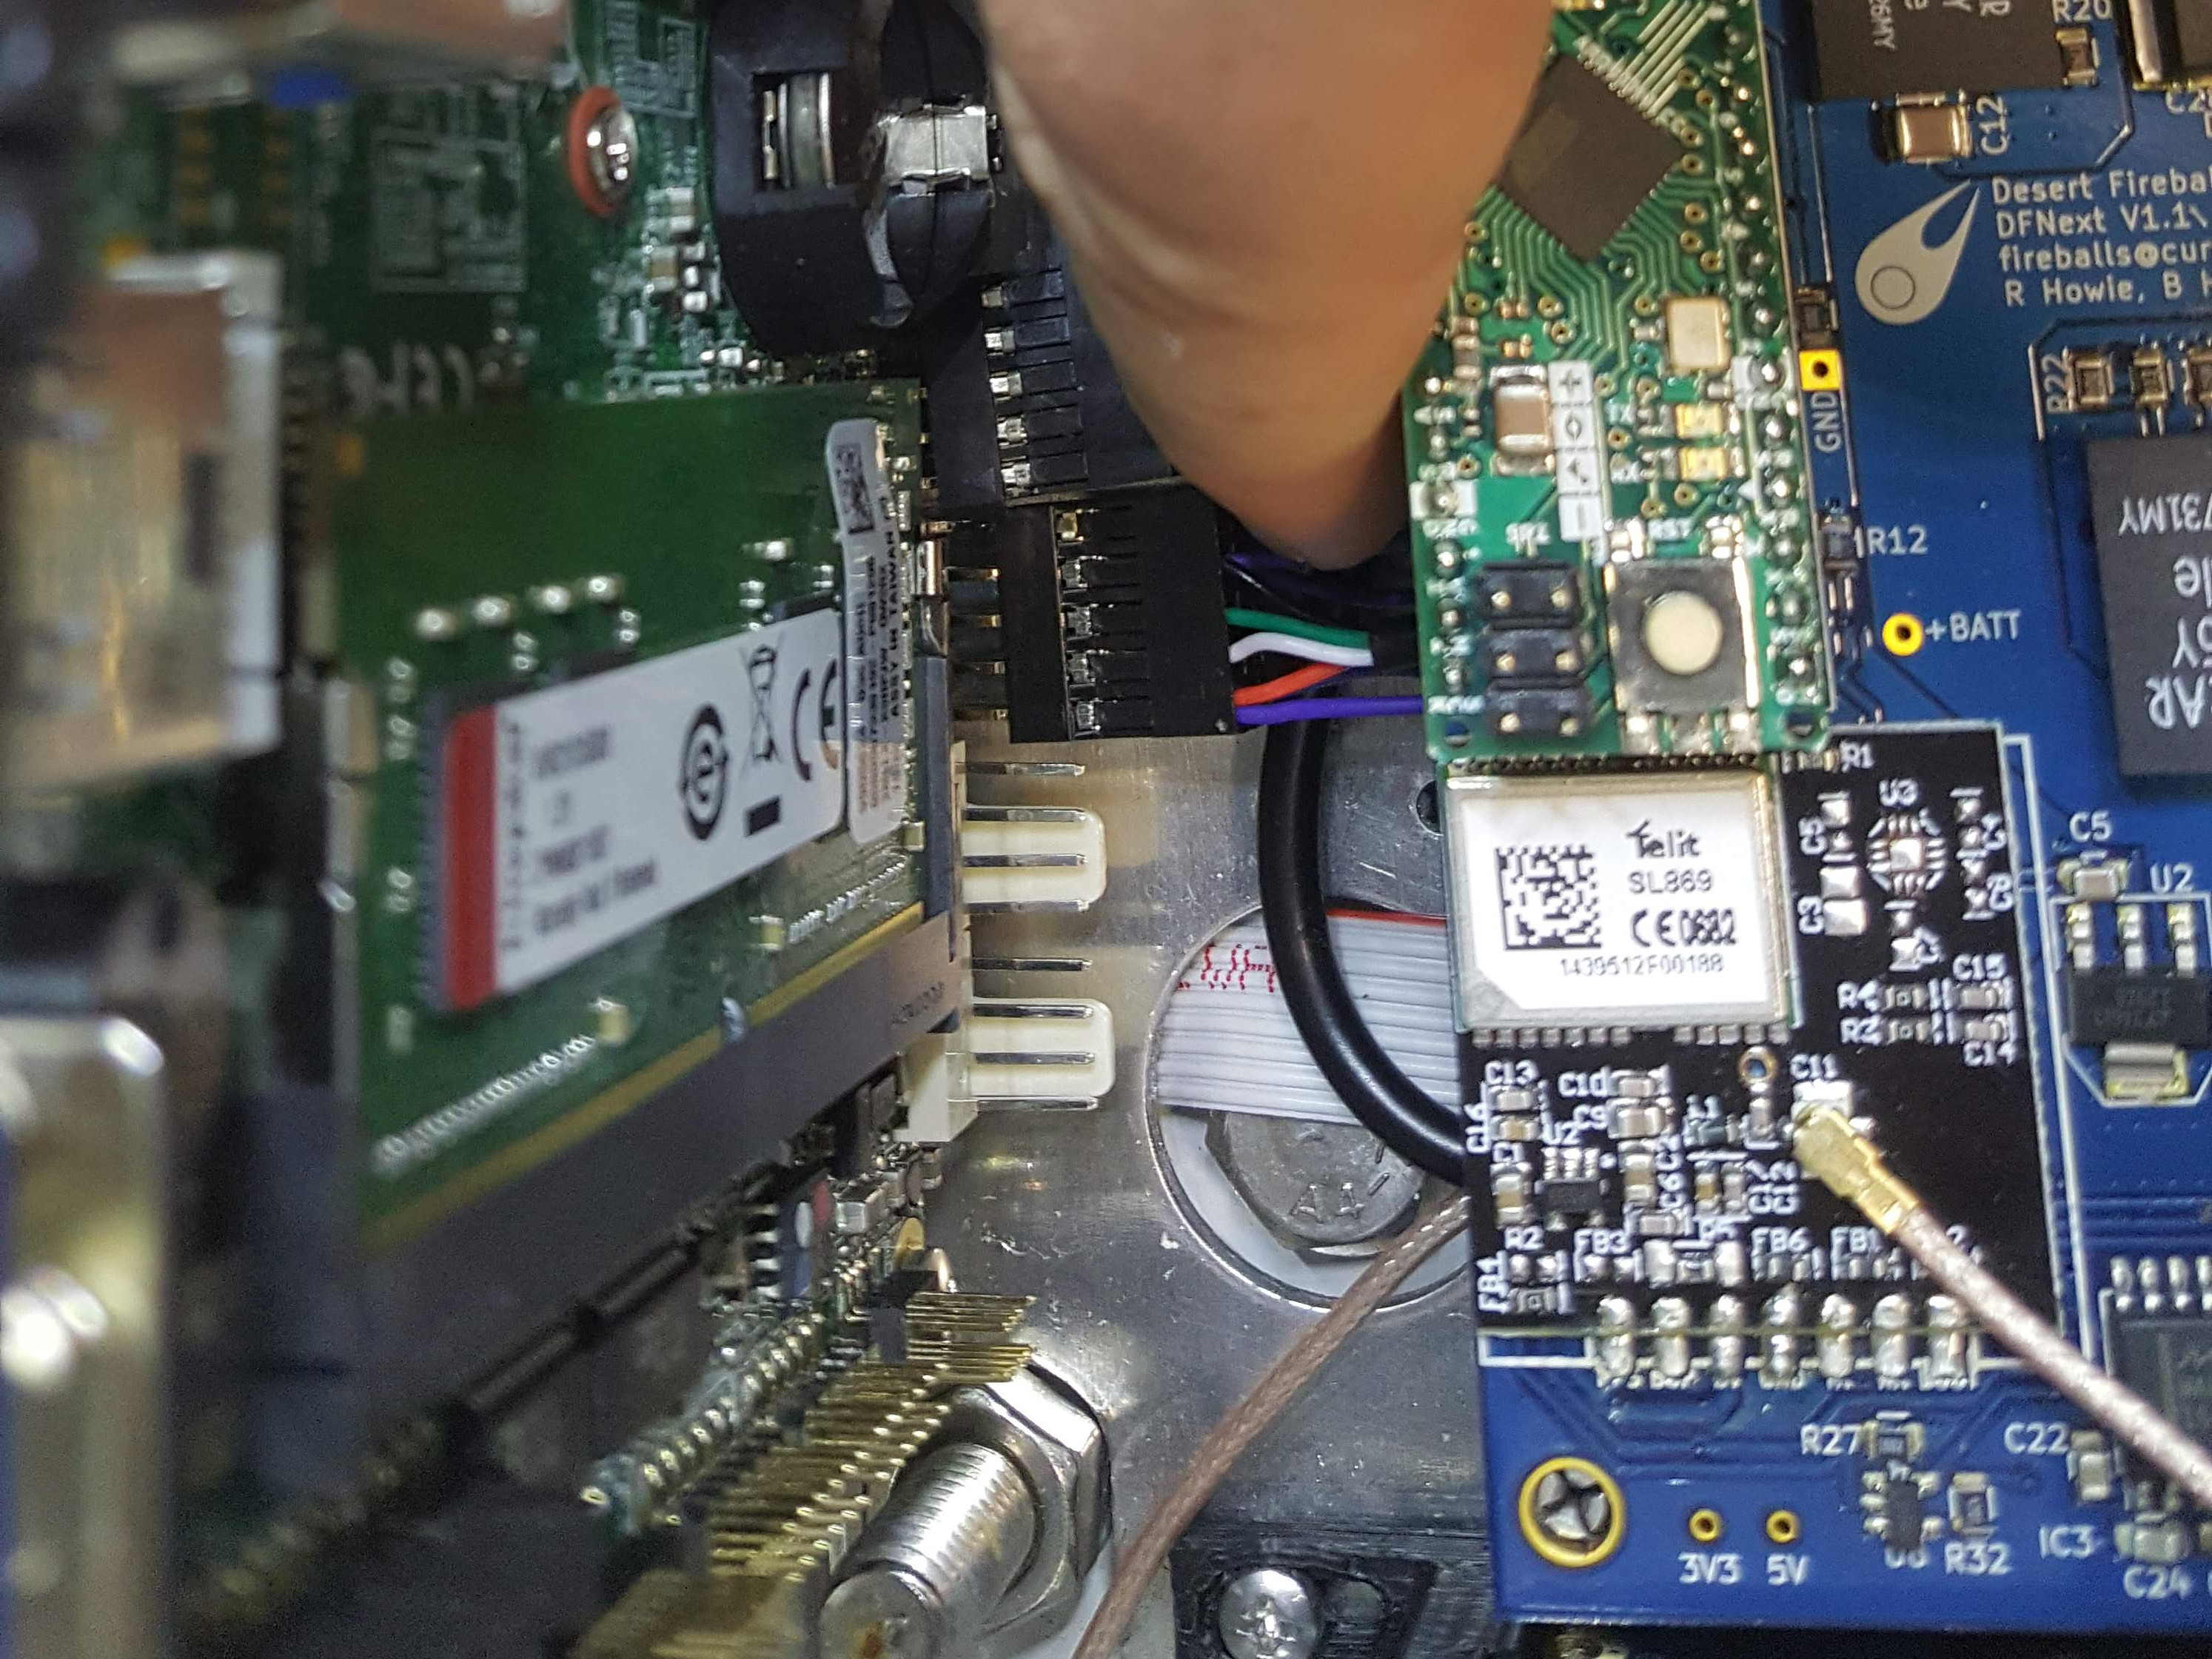
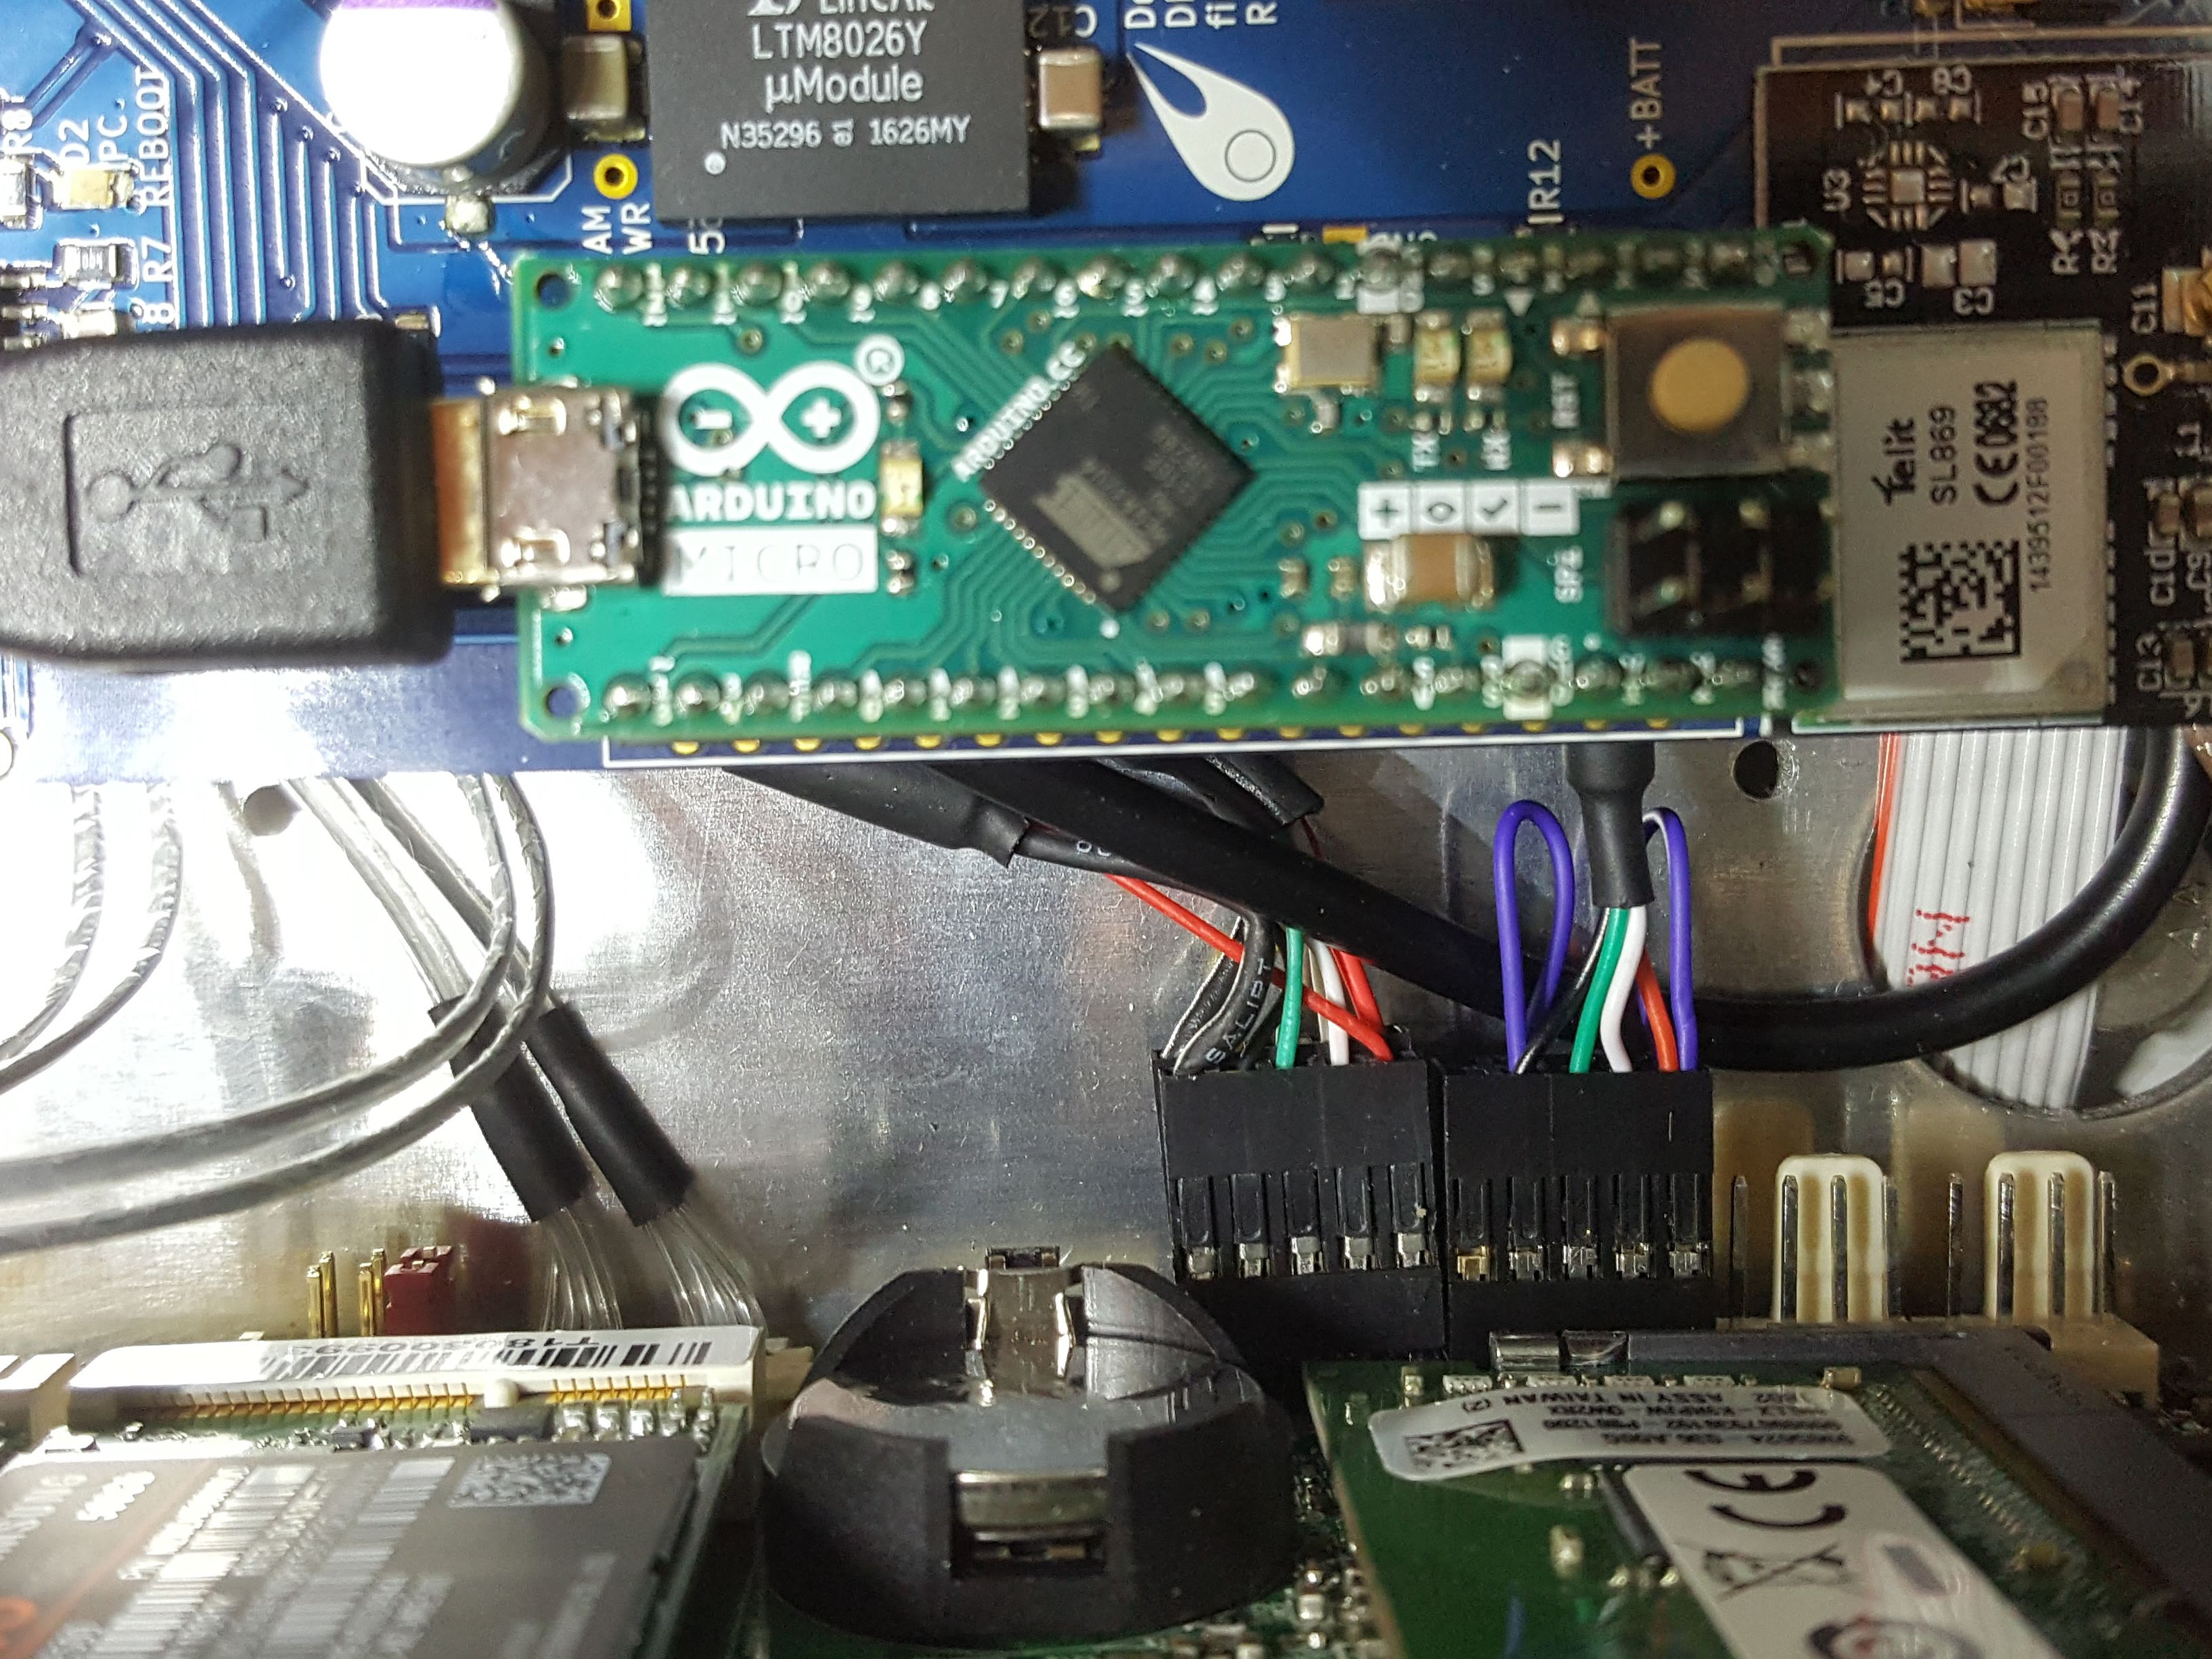
Note: these instructions are for DFN camera systems equipped with blue PCB modem adaptor board (see images below). For DFN observatories with green PCB modem adaptor board please refer to DFN Modem Installation - Green card.
The DFNEXT observatories usually ship without modems as many of them are deployed with WiFi or Ethernet connectivity and different areas of the world require different modems.
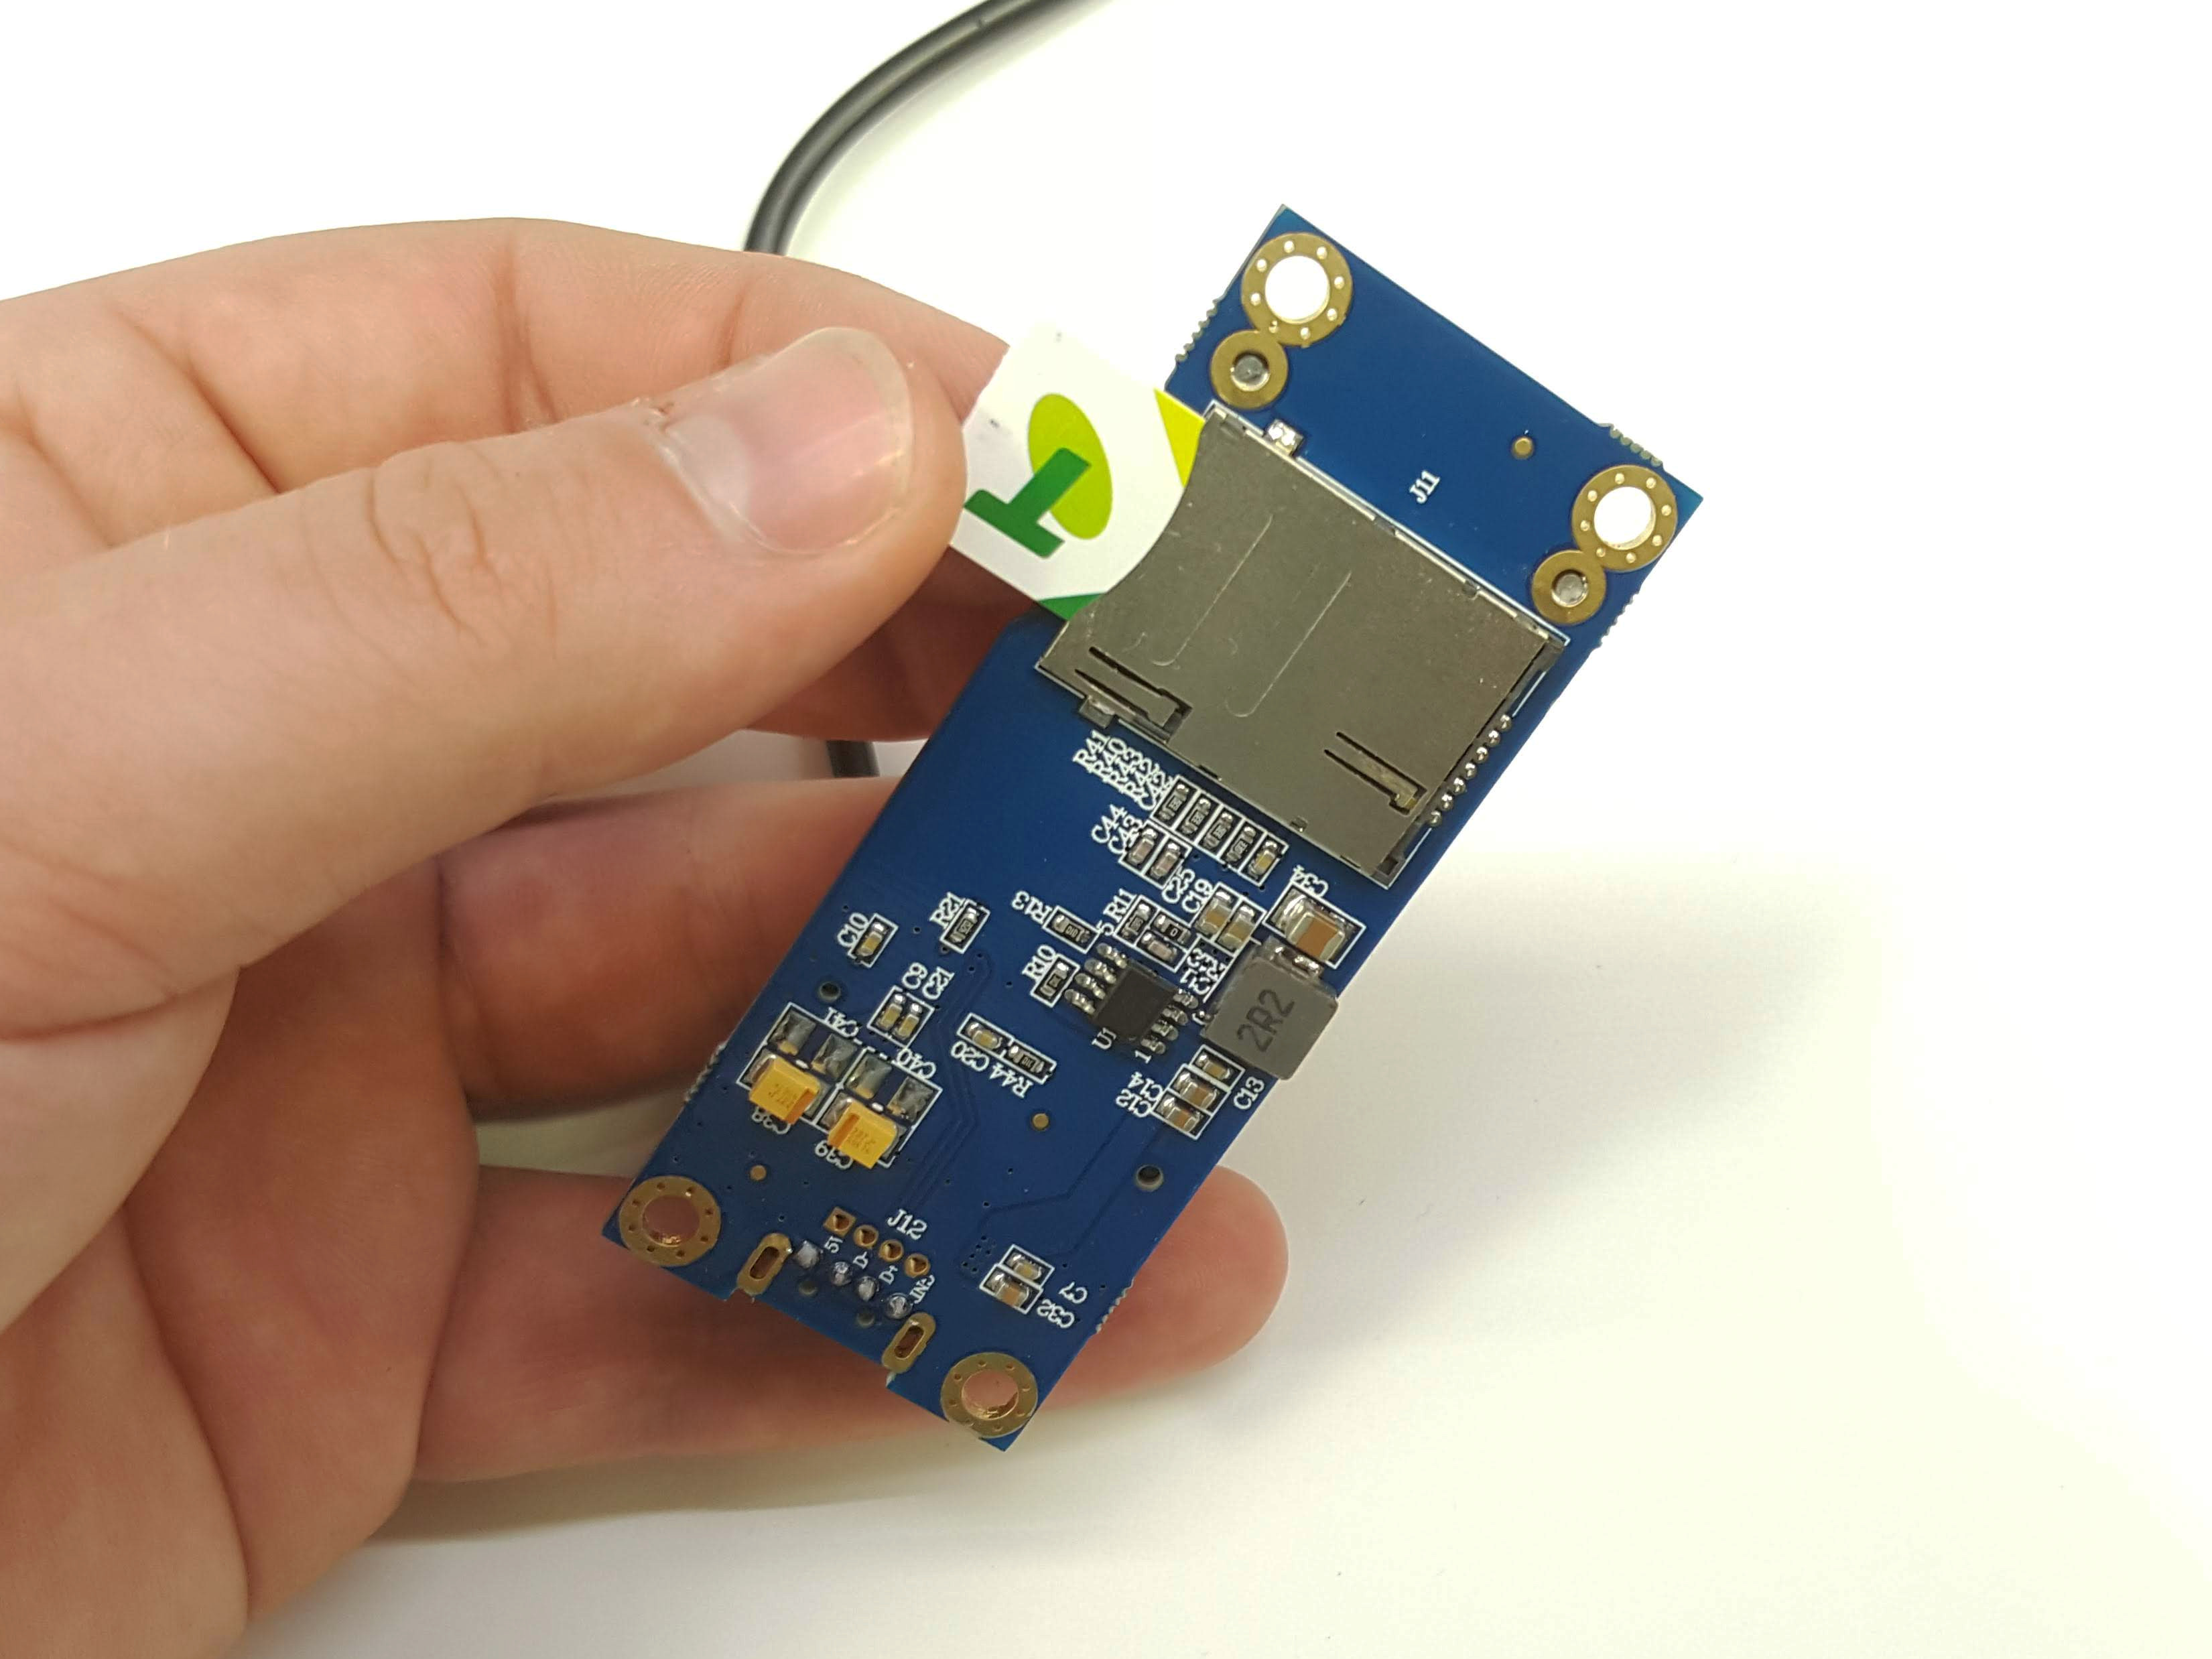
If you wish to network your DFNEXT observatory via mobile broadband instead of WiFi or Ethernet you need to source a modem and request a modem installation care package from DFN Camera Help. You will also need a 2FF (“standard”) sized SIM with an active data plan.
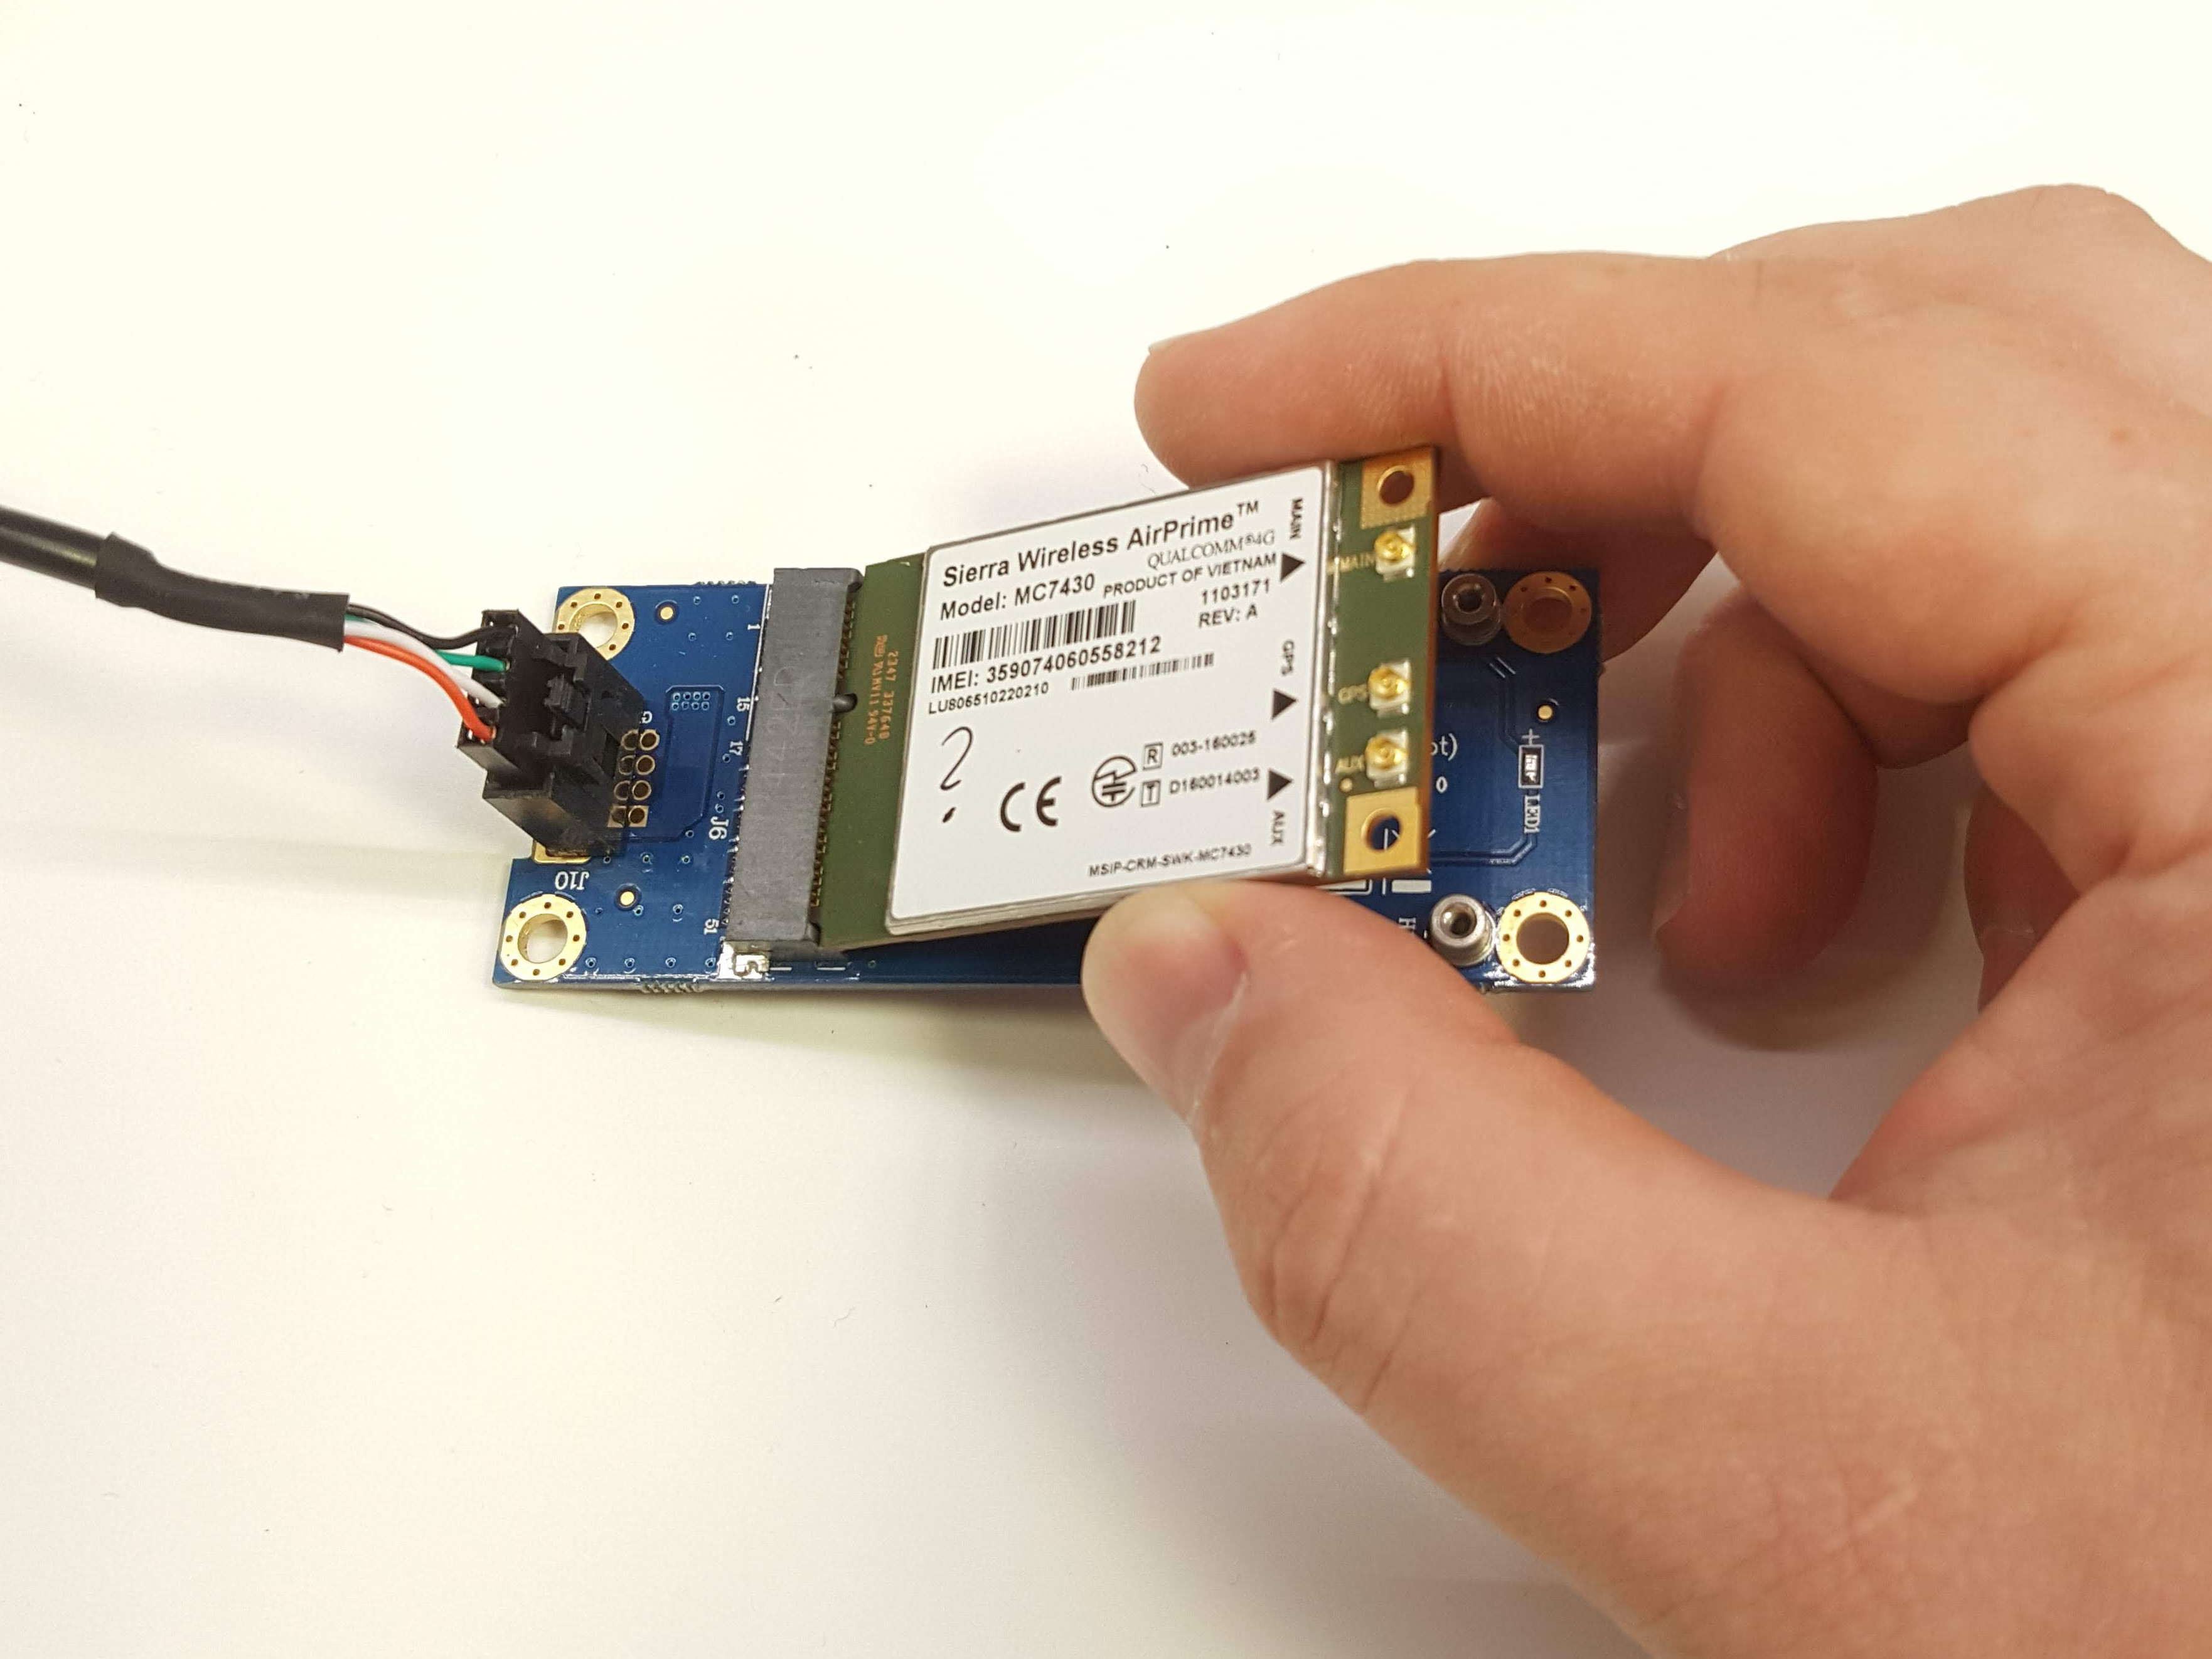
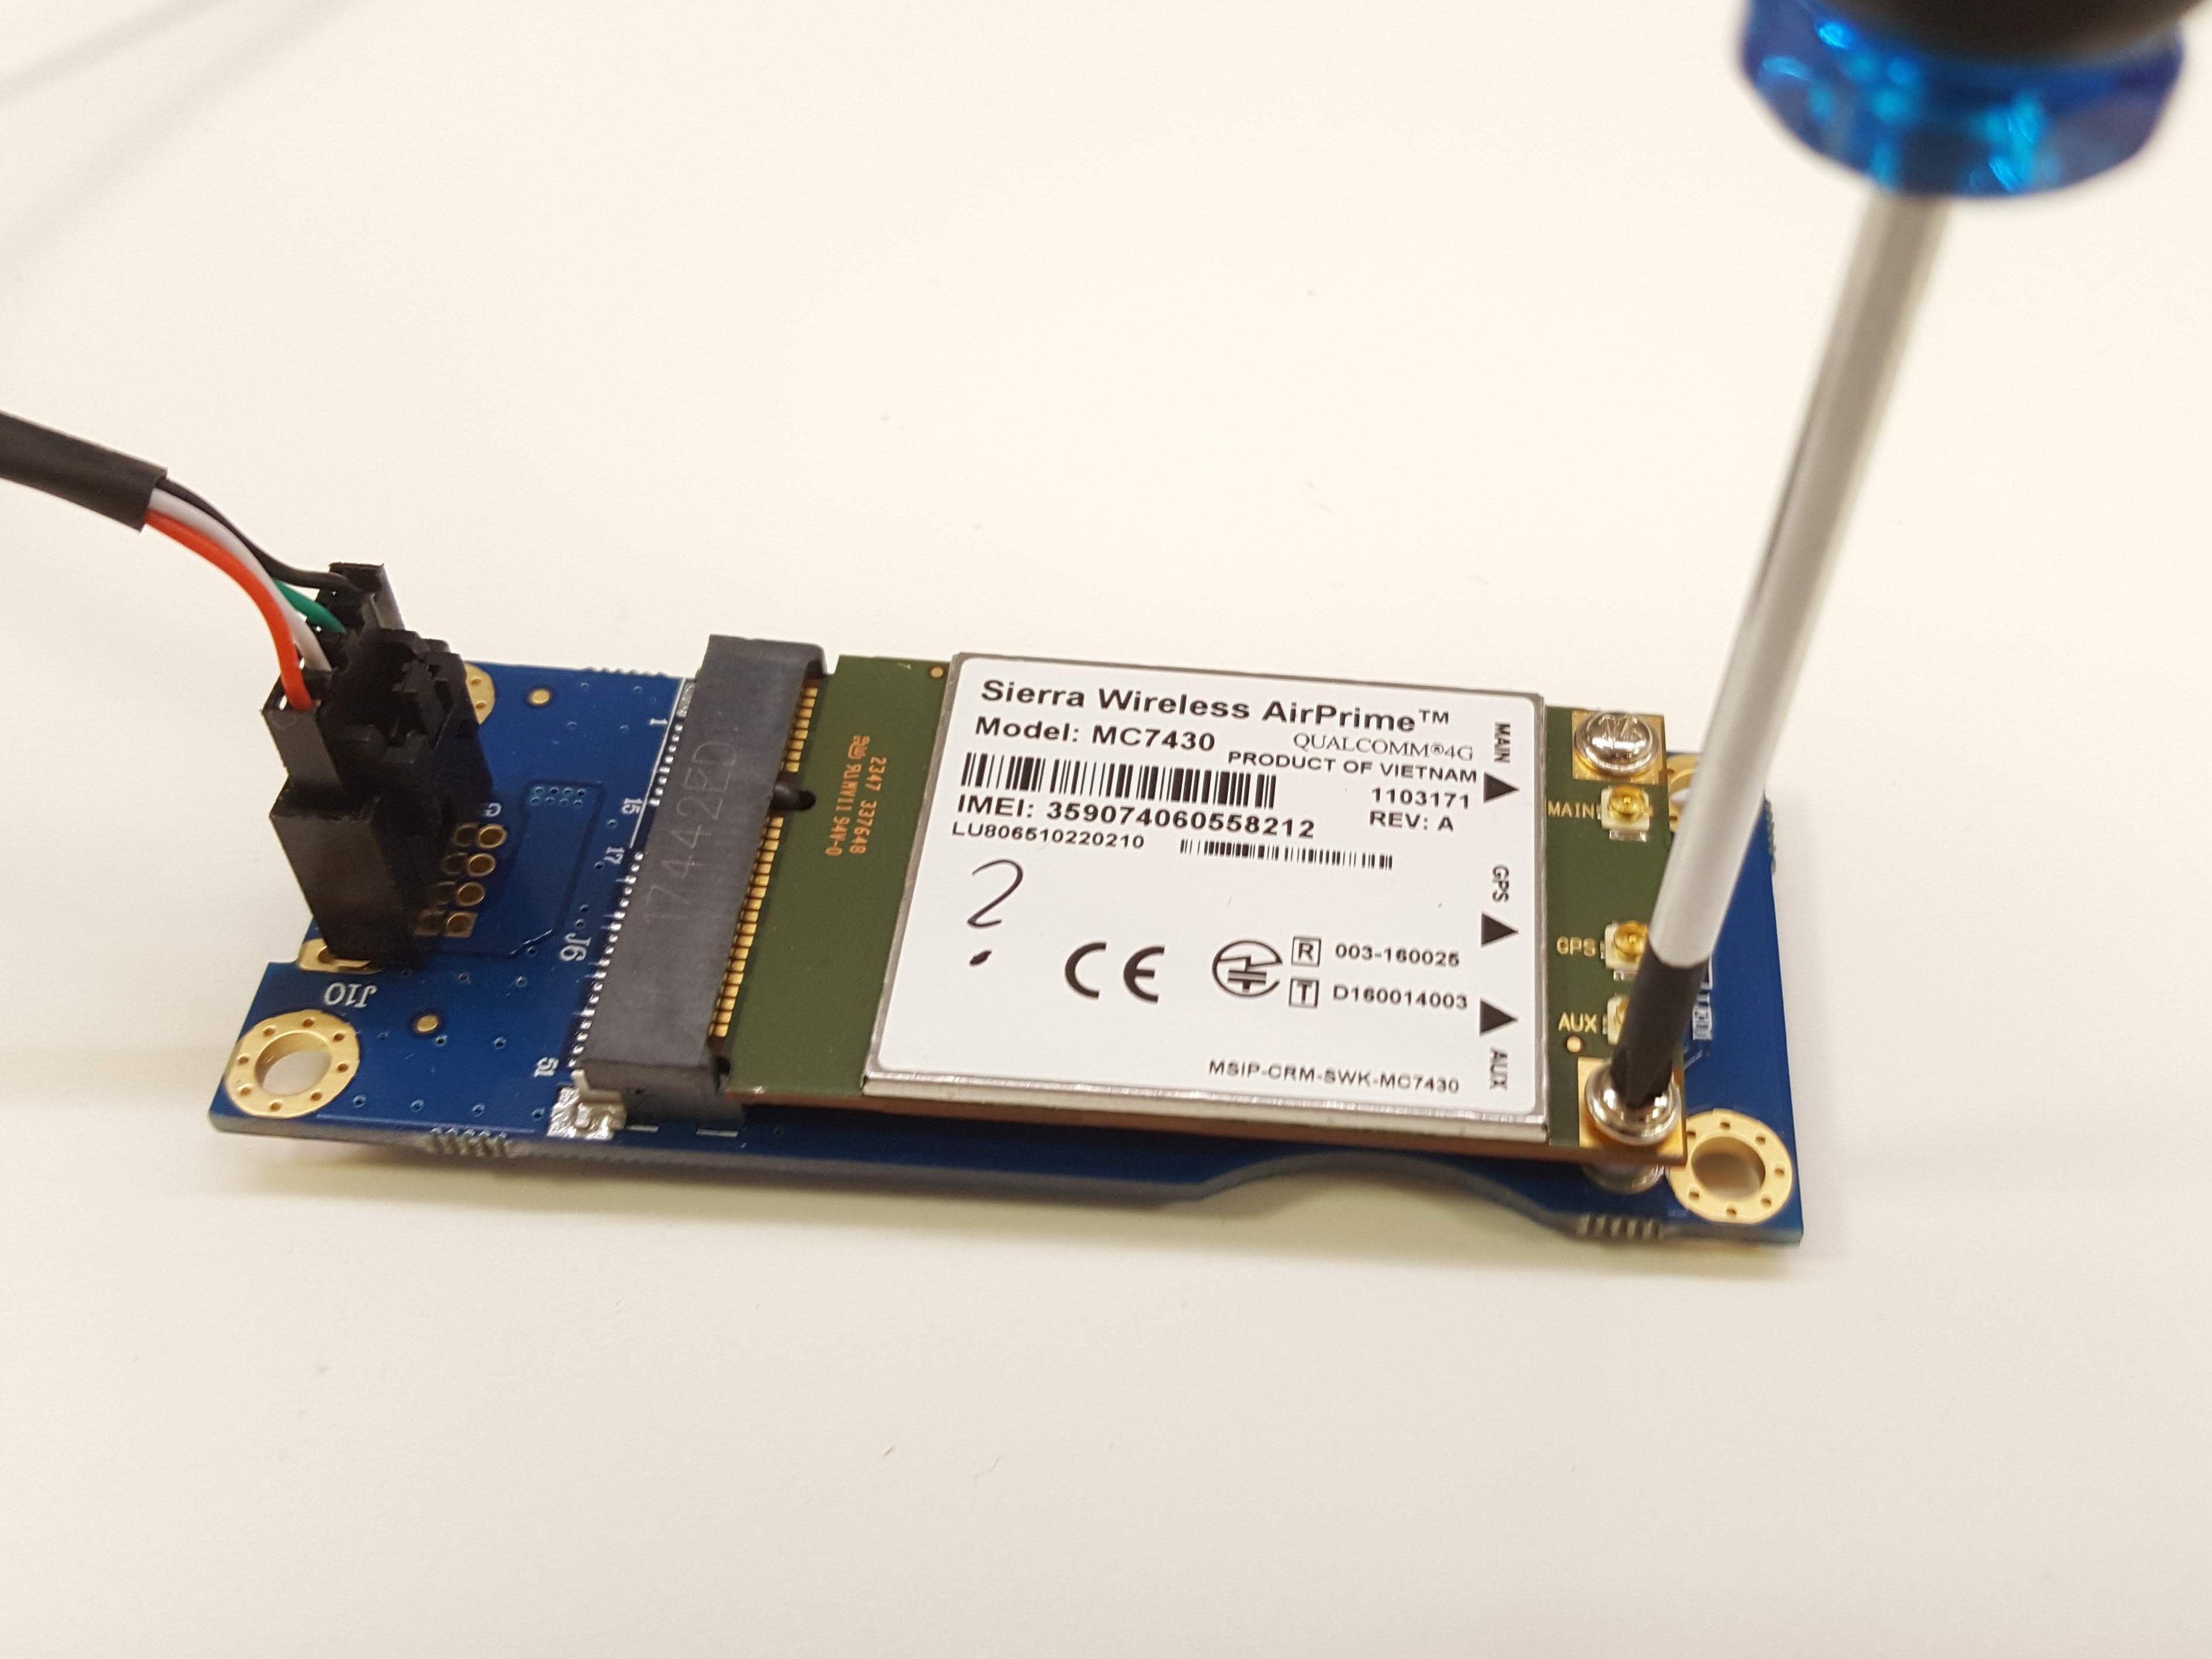
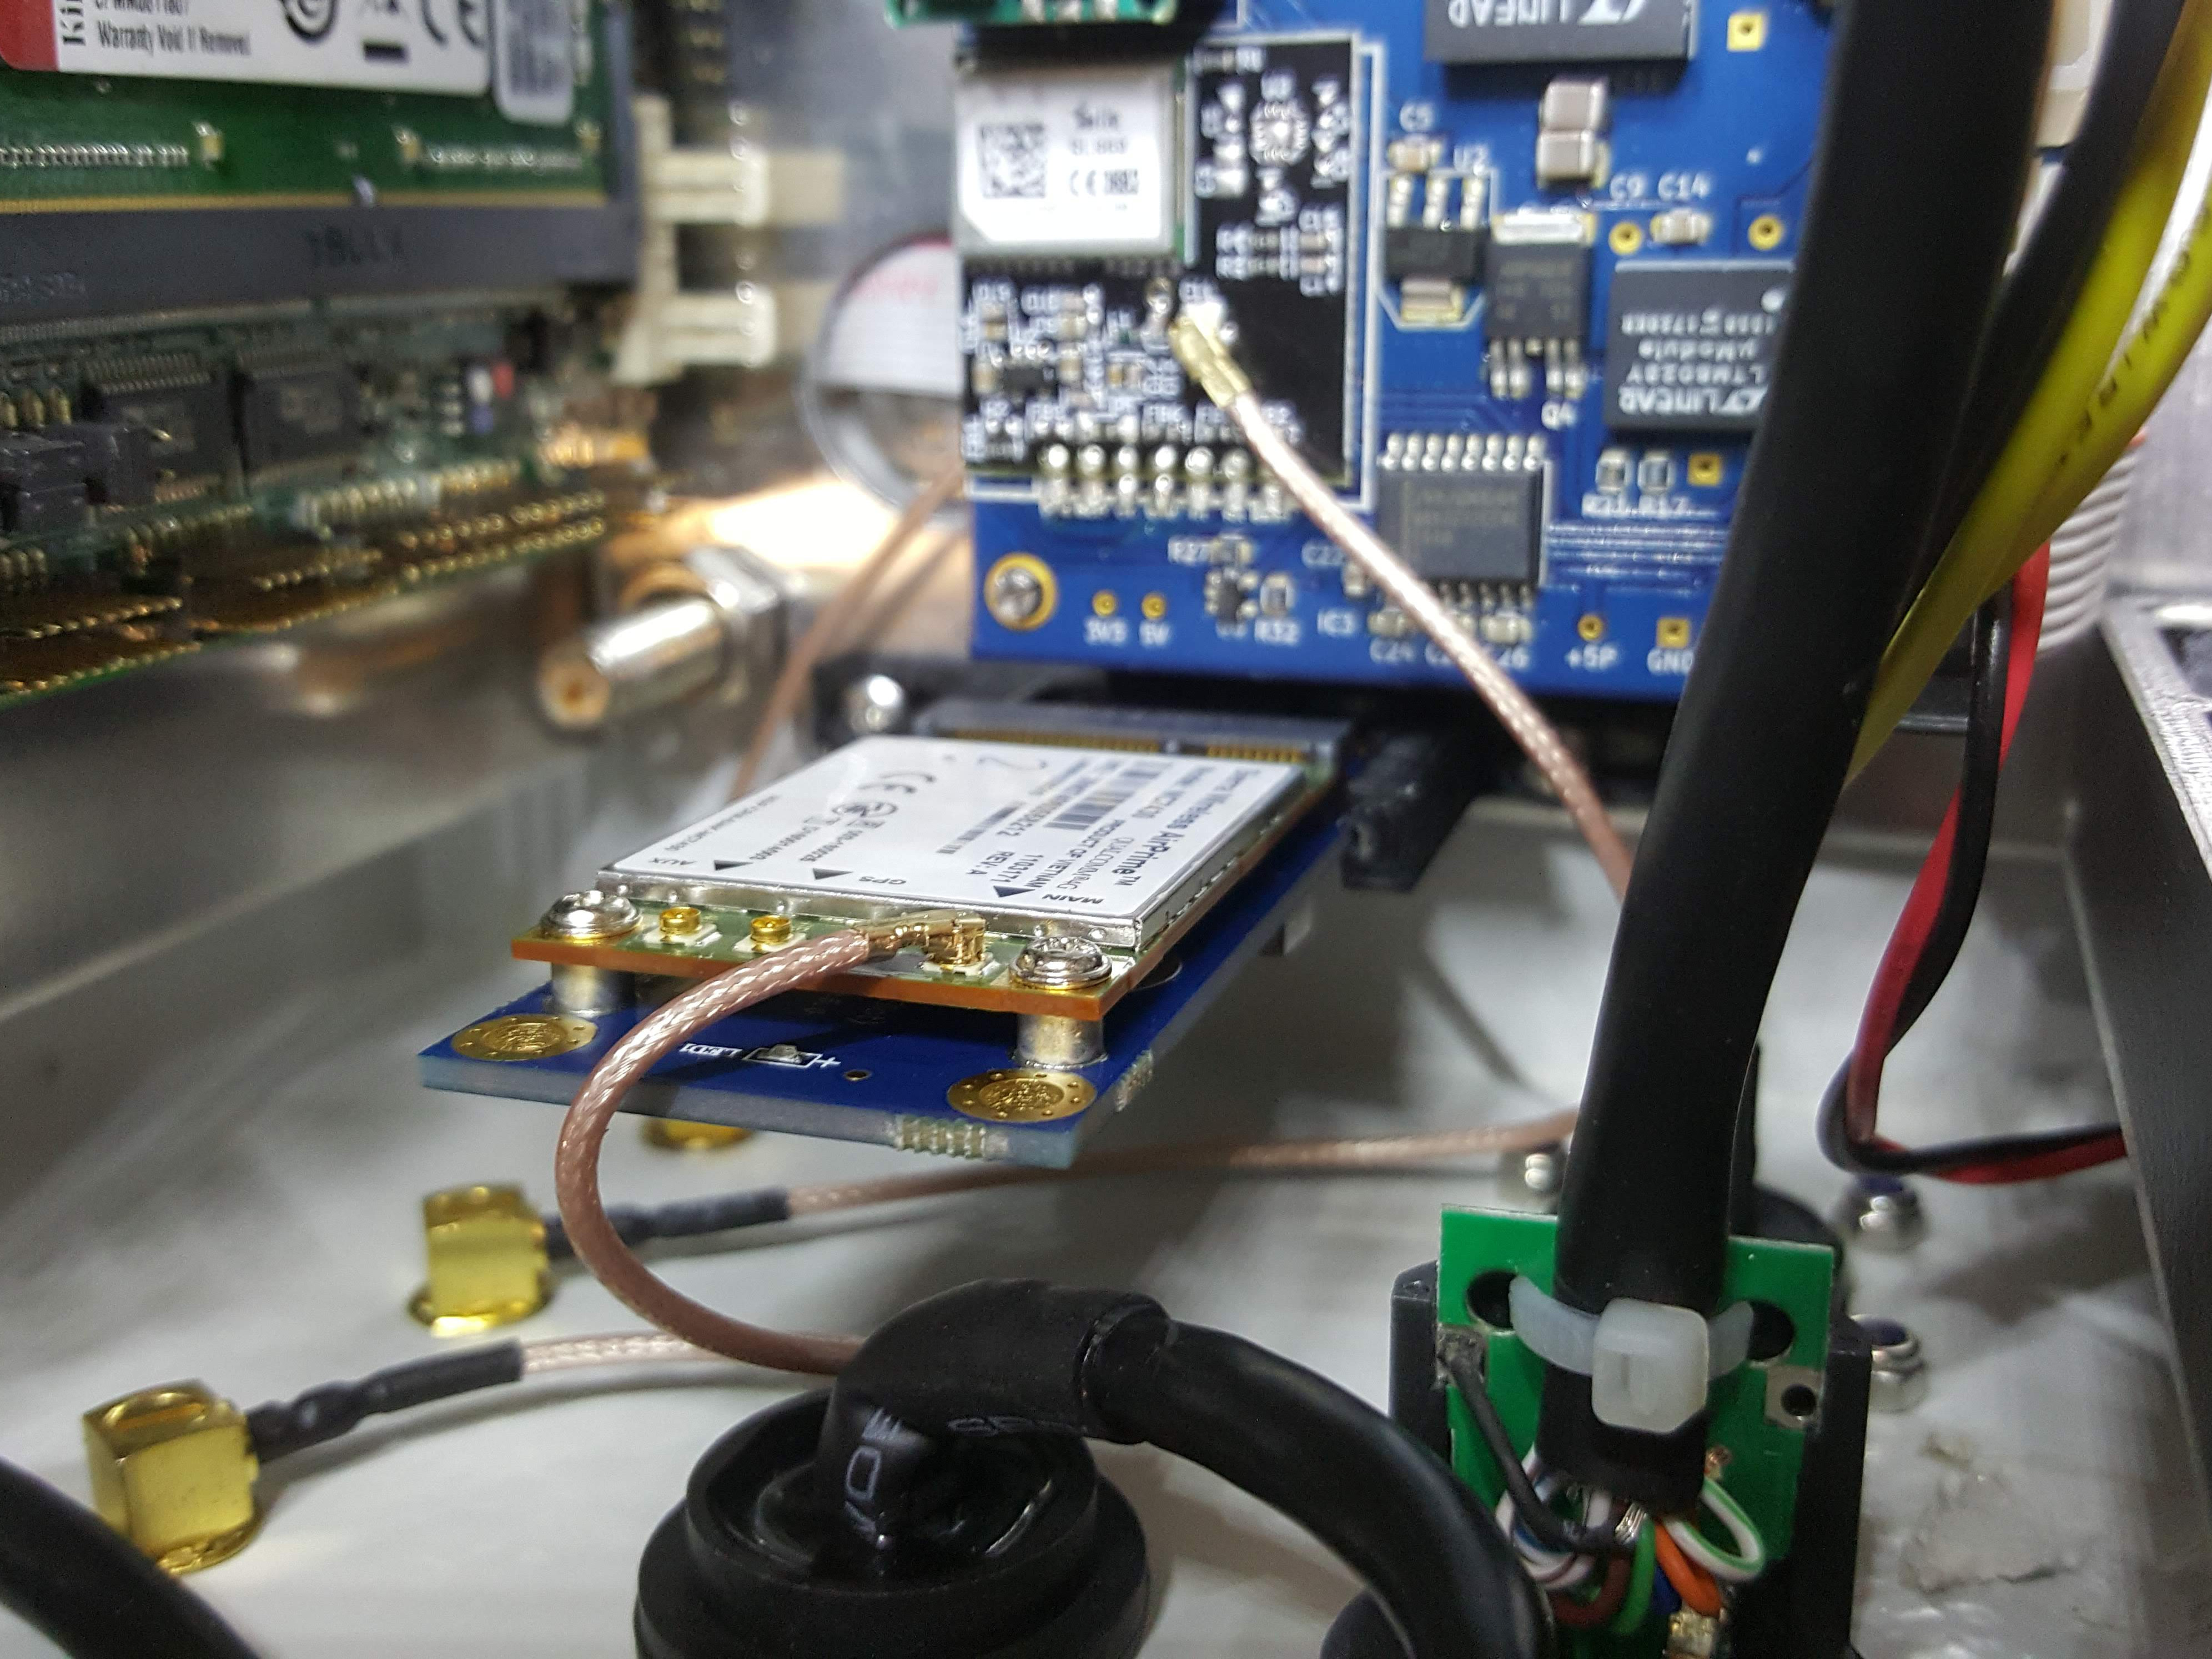
The recommended modems are the Sierra Wireless AirPrime MC Series MC7455 (for the Americas, Europe, the Middle East and Africa) and the MC7430 (for Asia Pacific including Australia). It is also a good idea to verify that the selected modem will support the frequencies/bands used by your operator in the area.
Installation Steps
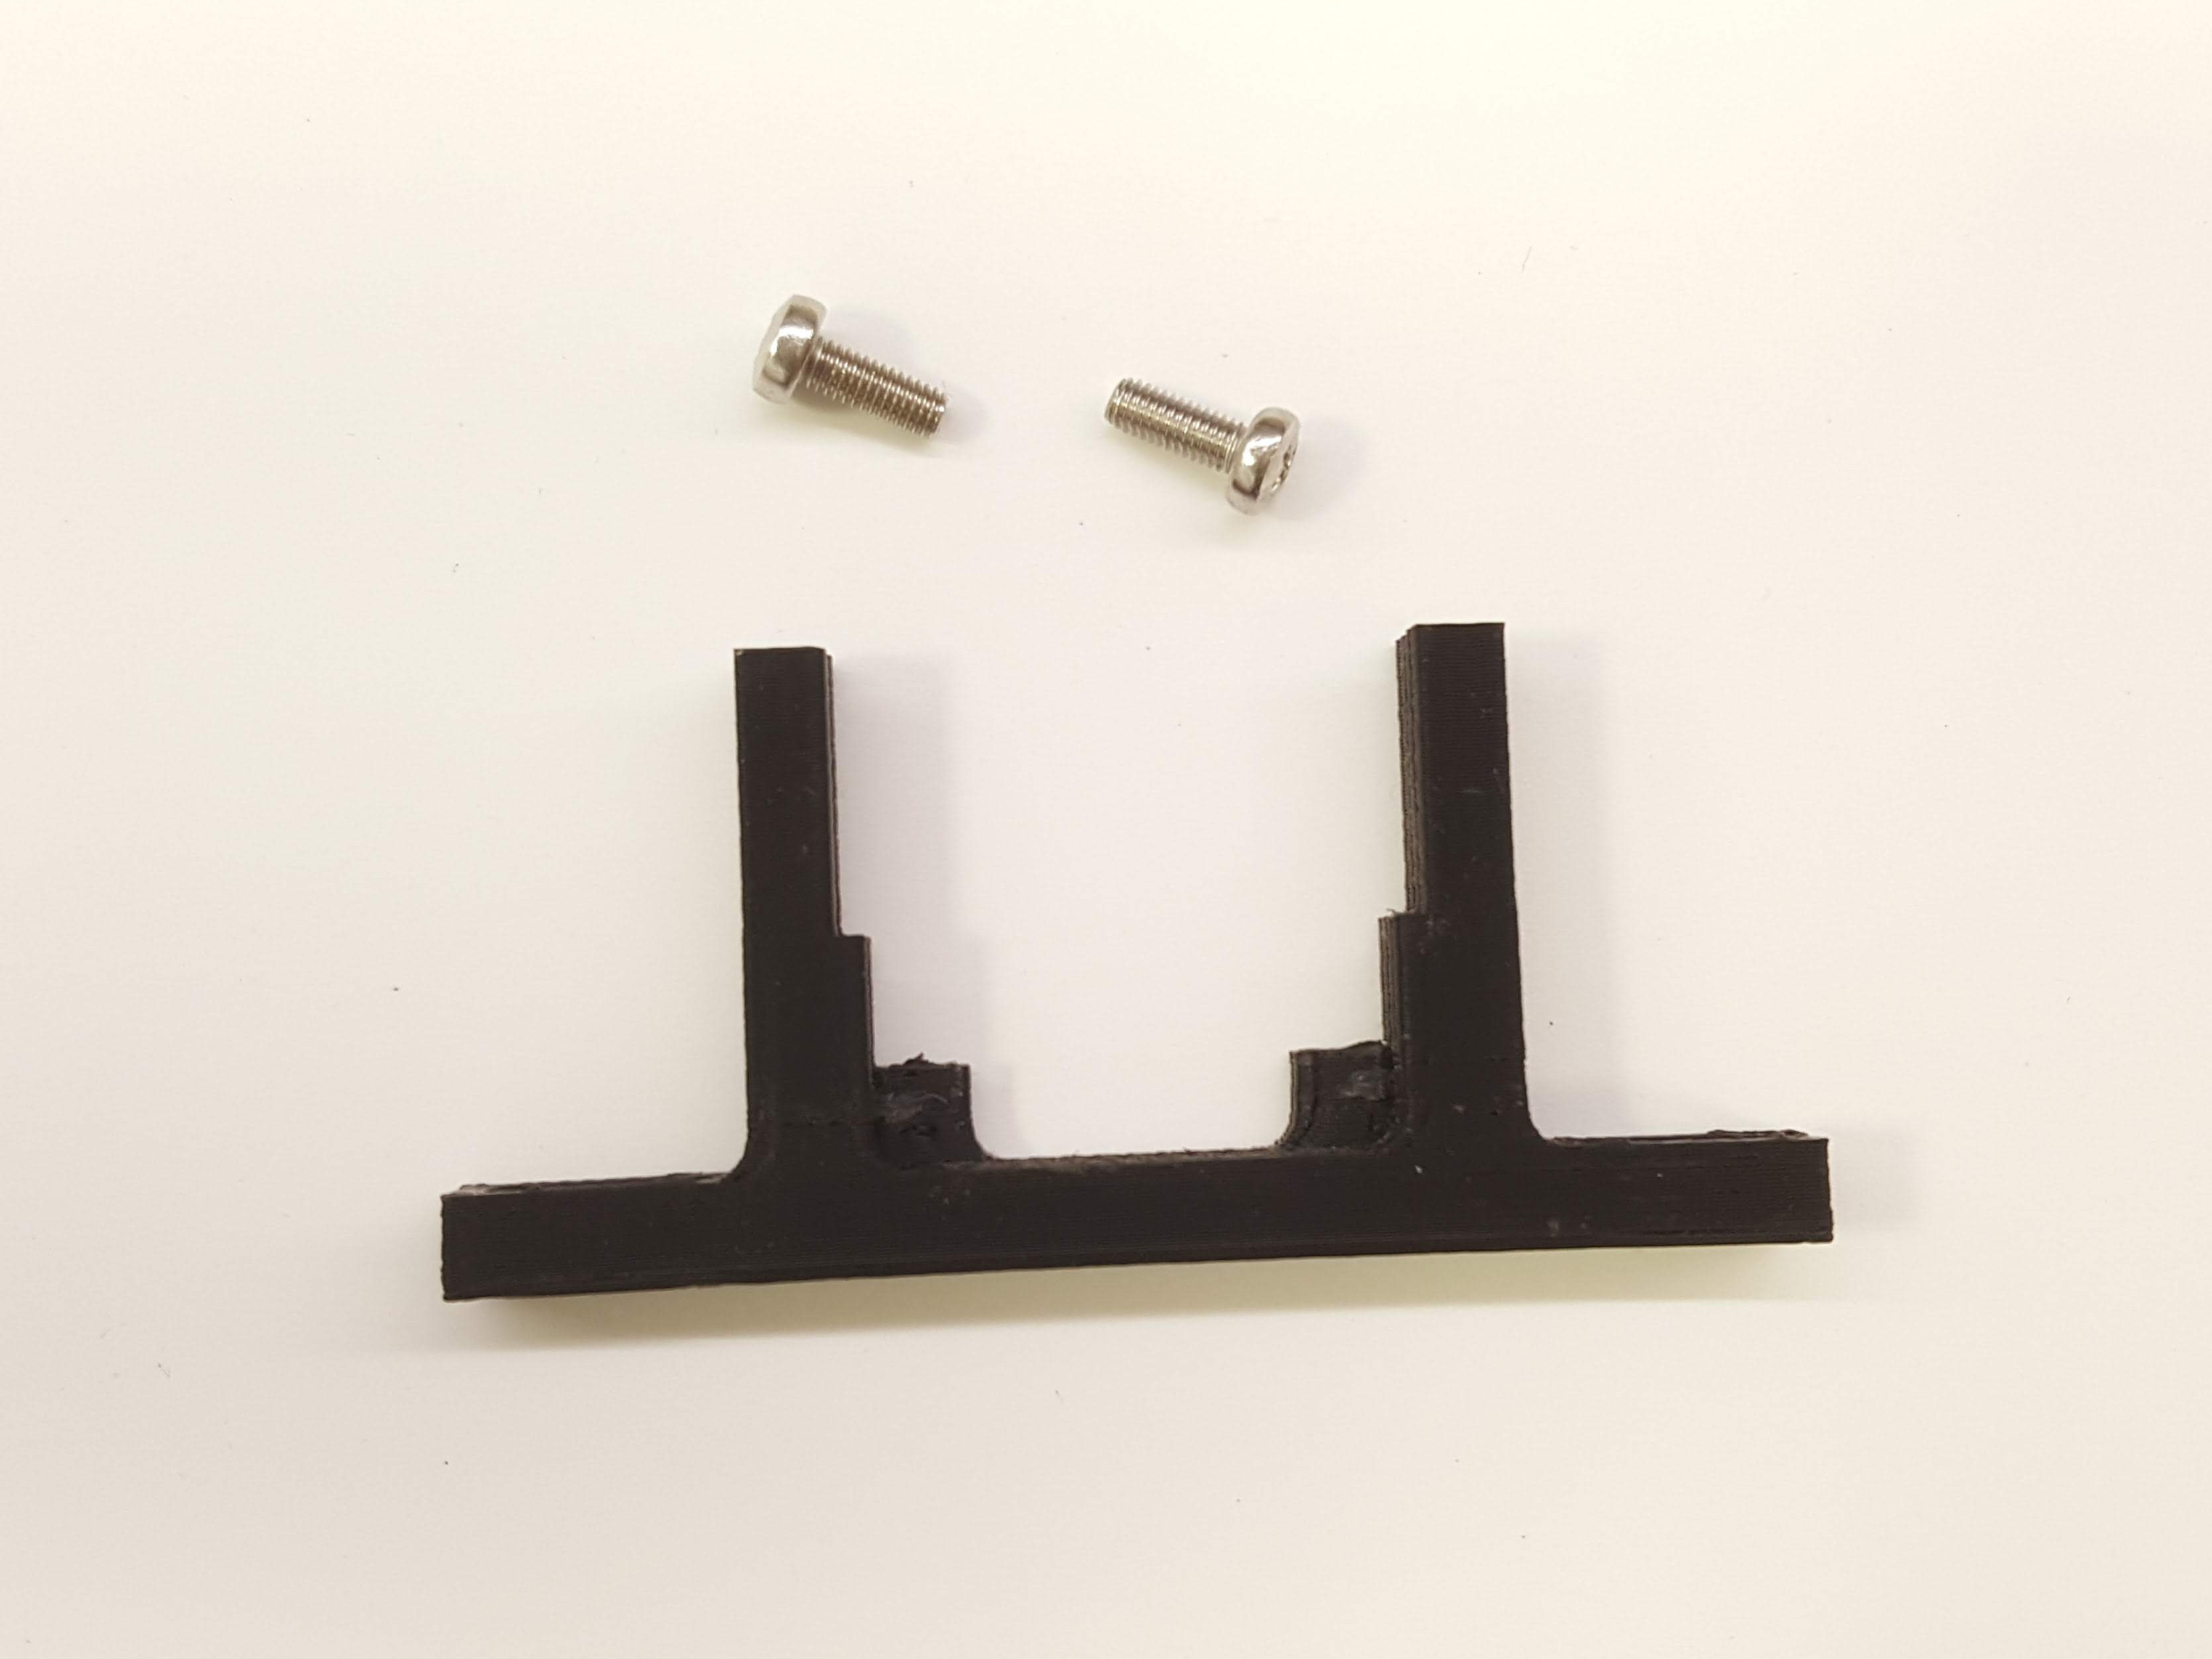
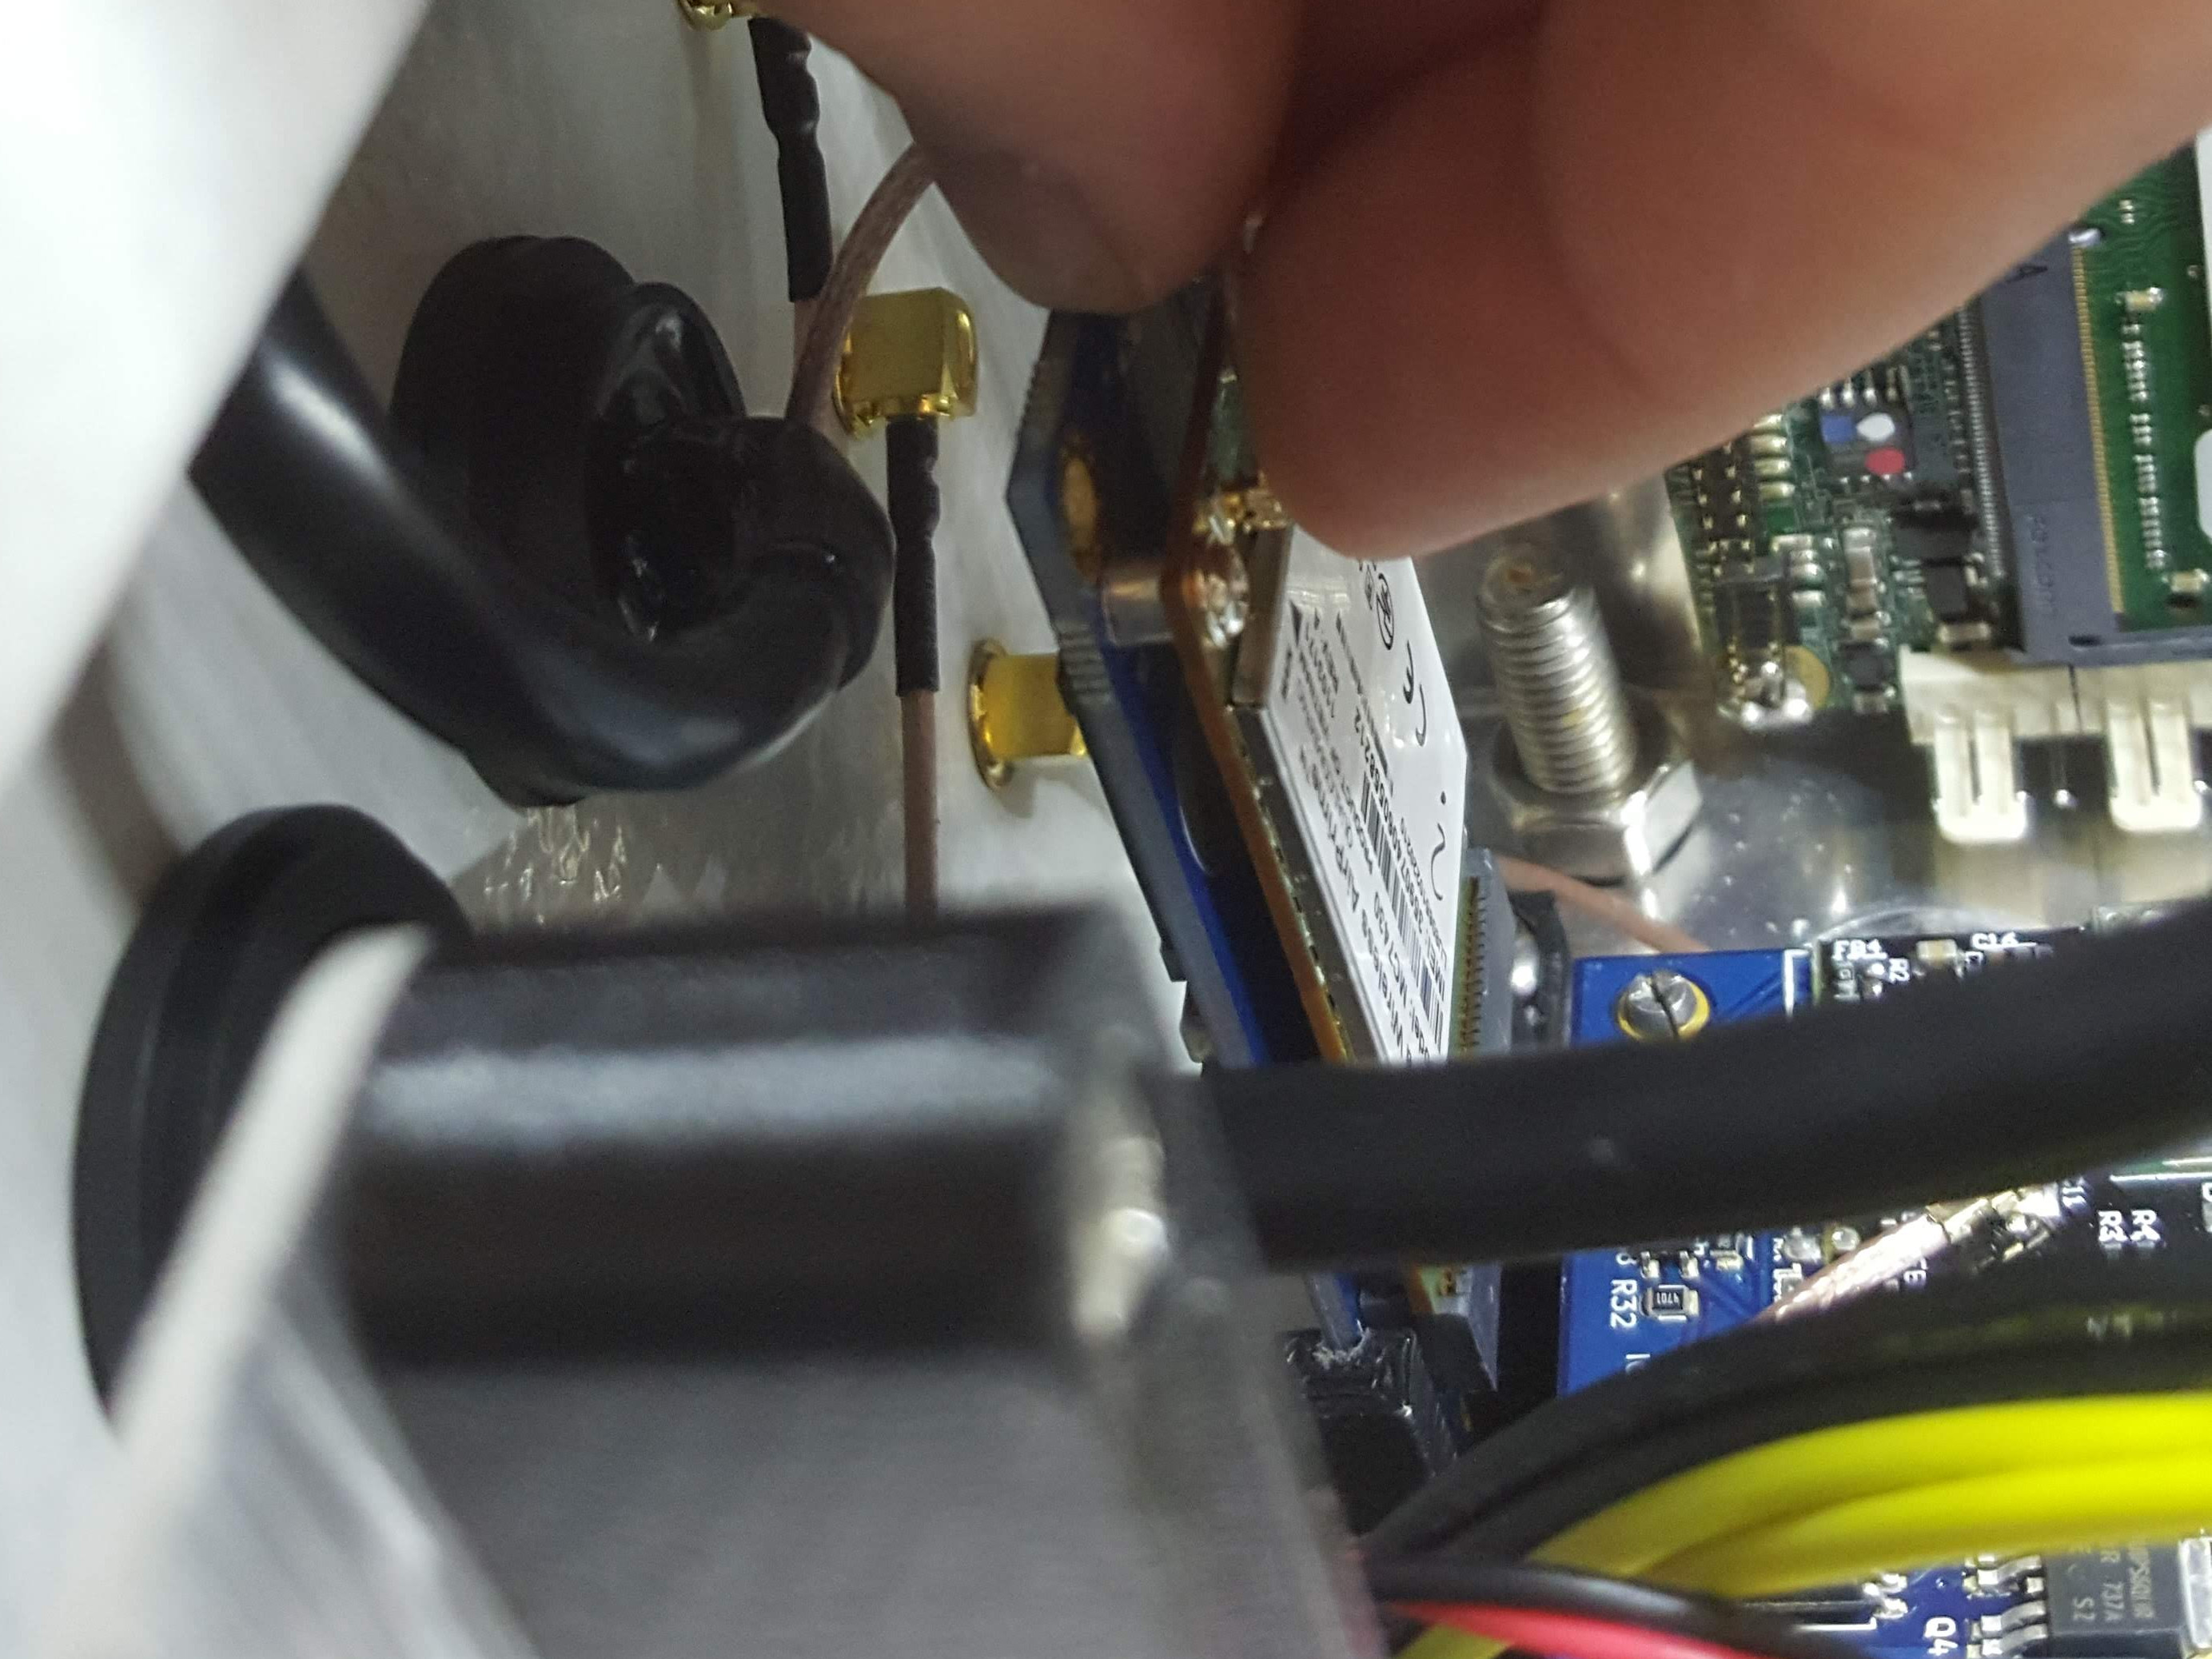
Once you have the modem, installation care package (containing the modem adaptor board, USB cable, modem bracket and screws) and a SIM card, you can install the modem by following the steps bellow. 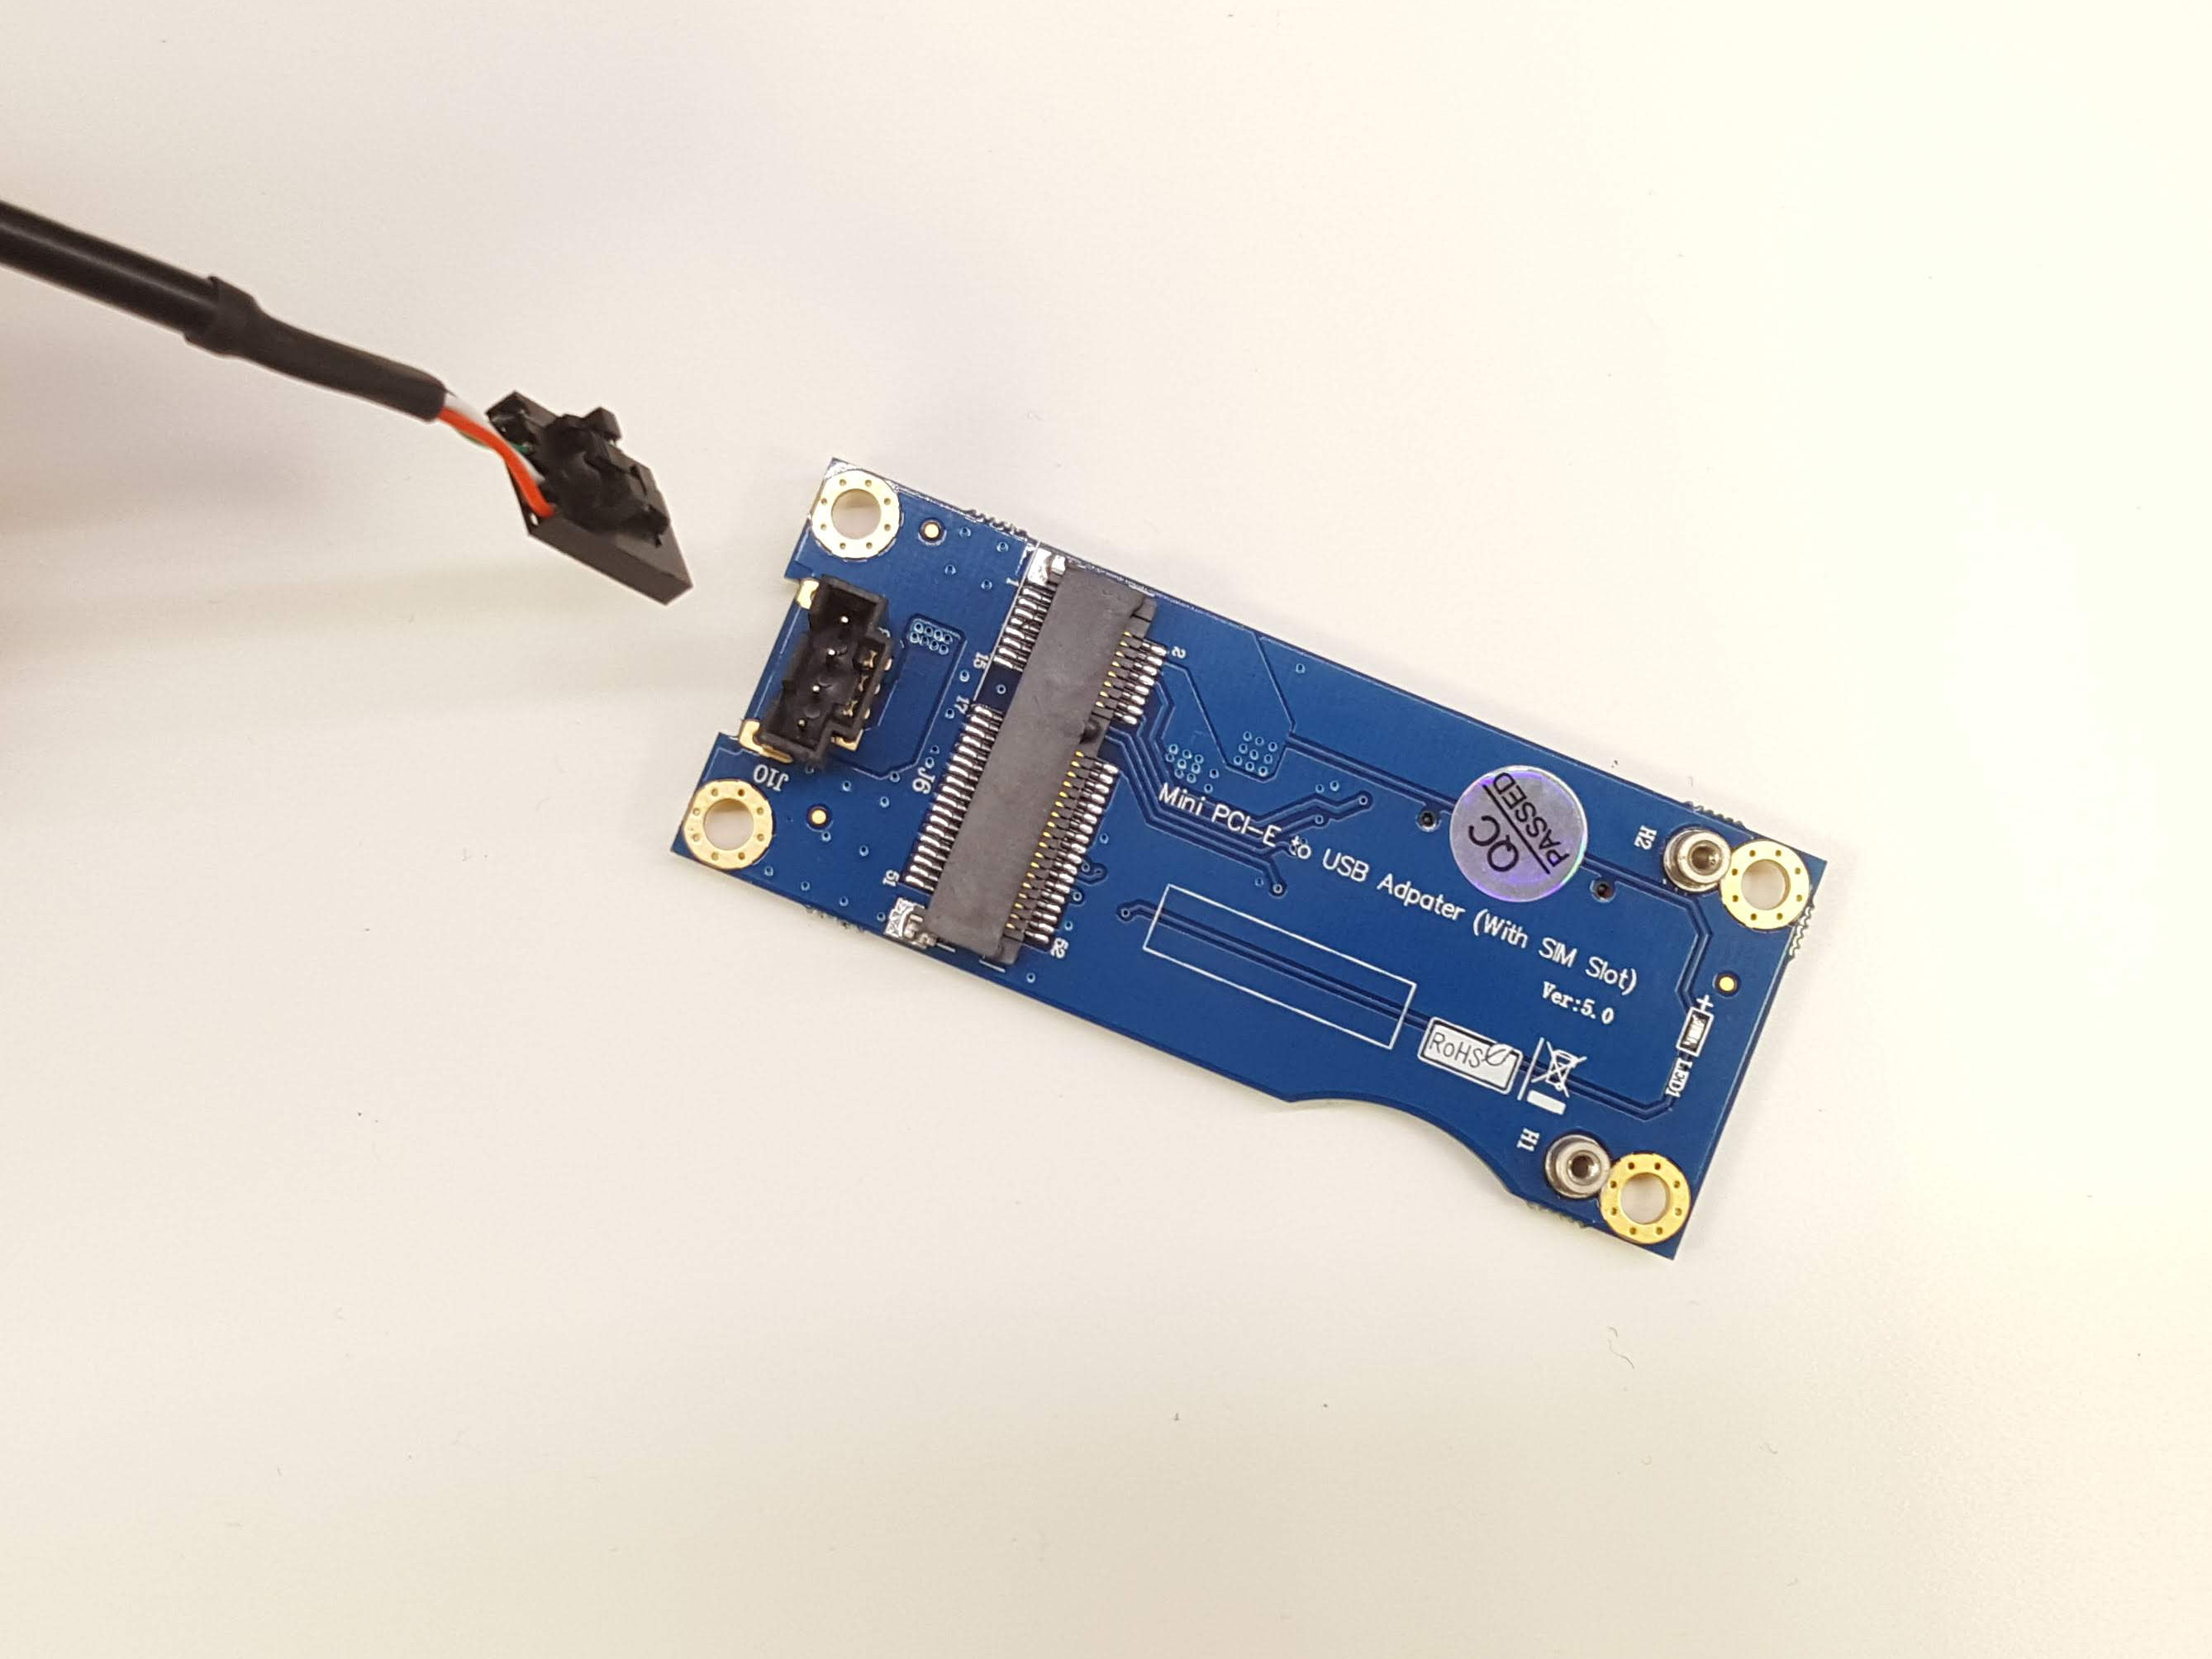
Network configuration
Make sure the networking is configured correctly for a specific modem type and operator. Please contact your service provider for details like AP name (example: “telstra.m2m” for Australian Telstra M2M plans), Password, Username and Phone (number) to dial.
The Mobile network configuration in the observatory PC operating system has moved to a separate wiki page.